
Whether it’s for yourself or a client, large format printing is quite common. If you don’t have any prior experience, you may struggle with blurry images and unsuitable colors. You have to watch out for many details when dealing with enlarged pictures. That’s why this article will focus on how to prepare images for large format printing to achieve the best results.
By following these step-by-step instructions, you’ll ensure that the print comes out as you imagined. You’ll learn all the little tips and tricks you need to make your design look flawless. This way, you can achieve your marketing goals or creative ideas without setbacks.
Continue reading to discover how to prepare a photo for large format printing and what goes on behind the process.

How to Prepare Images for Large Format Printing
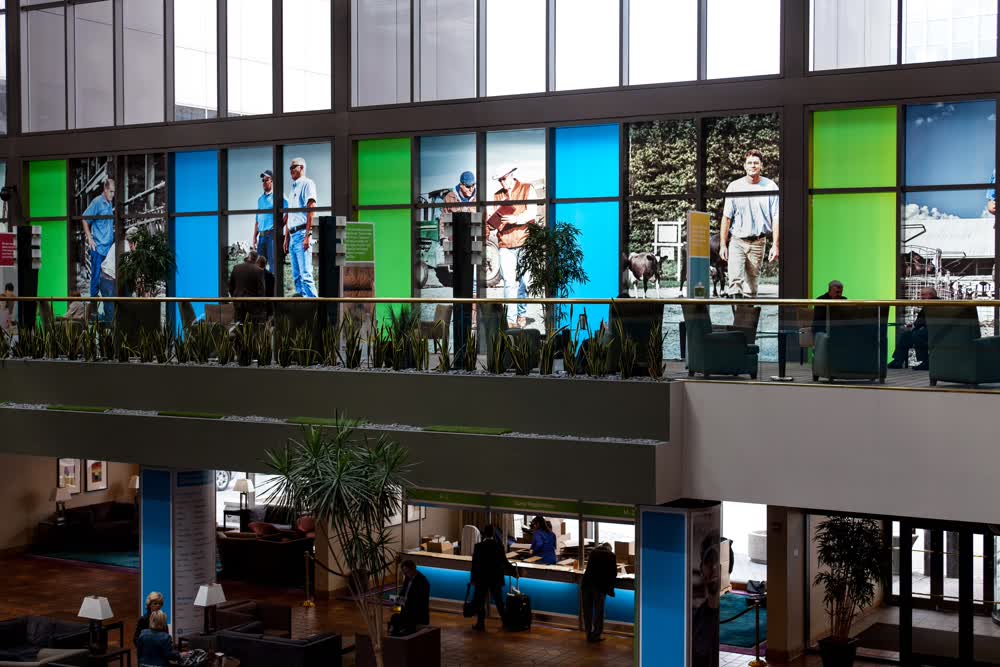
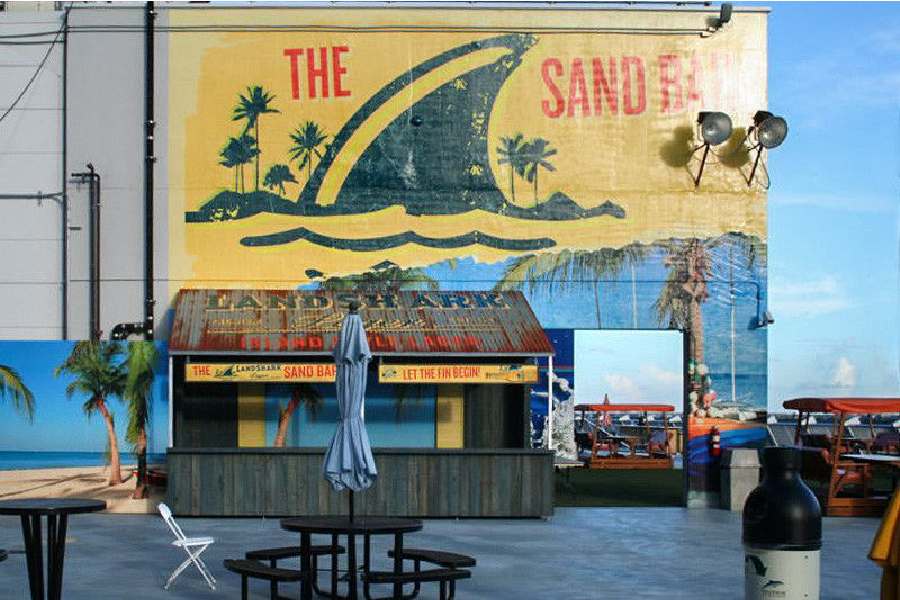
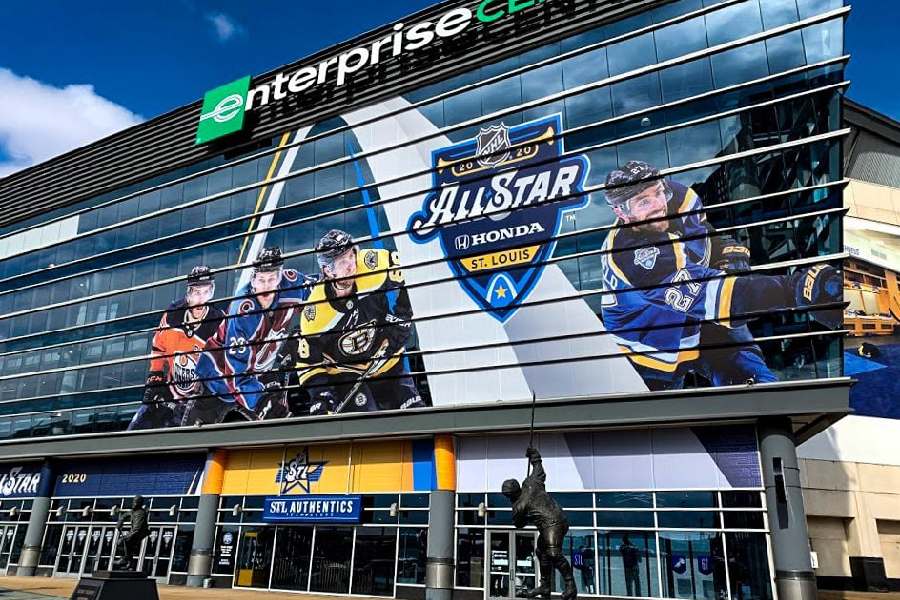
Large format image printing can come in handy for multiple reasons. Whether it’s to brand your vehicle or advertise your product on a billboard, it’s still a delicate process. If not done right, your plan may backfire, and you may hurt your business instead.
Remember that people often choose products and services that grab their attention and are aesthetically pleasing. Thus, when preparing images for custom large format printing services, there are several crucial steps you should consider.
The step-by-step process includes the following:
- Taking the picture.
- Calibrating the monitor.
- Choosing the right tools.
- Editing the images.
- Saving with the correct file type.
- Finding the right printing service.
A Detailed Guide
Taking the picture
The first step in any large format printing process is gathering the needed materials. Even though this may seem simple, there are several key elements you have to keep in mind.
If you fail to follow the standards, you’ll end up with unusable images. Not only will they cause you trouble during the editing process, but you may have to redo the whole step again. Thus, it will cost you more time and resources instead of focusing on the end goal.
That being said, here are the key elements you have to remember when taking suitable pictures:
- Keeping the camera sensor clean
- Shooting in RAW format
- Remembering the image viewing distance
- Choosing the right size and resolution
Keeping the camera sensor clean
When you’re taking photographs, you must ensure the camera sensor is clean. If you regularly use your equipment, gathering dust and debris over time is normal. But this can cause your images to have spots on them or appear blurry.
That’s why you should always clean your equipment before the photo shoot. Depending on your camera, instructions on how to clean it safely may be included. Remember that this type of technology is quite sensitive and may be damaged if you don’t follow the cleaning protocol.
If you don’t have any prior experience in camera maintenance, you can always contact a professional service. It’s better to pay a small cleaning fee than cause severe damage that can cost you thousands of dollars.
Shooting in RAW format
The second element you should watch out for is adjusting the camera to shoot RAW format images. If you’re not familiar with it, it has the same role as a photographic film in traditional film photography. It’s also known as a digital negative since it can be easily manipulated and edited.
Furthermore, it has minimally processed data from the digital camera sensor. Those who don’t have any prior experience with using different formats can find these options in the image setup.
Remembering the image viewing distance
When taking the images, you should also consider the viewing distance. This mostly includes the reason you’re investing in a large format printing. Will it be on a moving van, or will it be statically positioned on a billboard? Always put yourself in the viewer’s shoes before capturing the image.
If there’s a larger viewing distance involved, it’s always recommended to use larger images. Don’t forget that during picture enlargements, the resolution and quality decrease. This happens because the number of pixels will decrease per inch.
Choosing the right size and resolution
Lastly, you should always ensure the size and resolution are compatible with your needs. If you’re unsure of the correct ones, you can always ask your provider.
The measurement you should know for this process is pixels per inch or PPI. It measures the image resolution and refers to the pixel density. Thus, the general industry standard for large format printing is 300 PPI.
So, always ensure to capture the correct size and resolution. If you fail to differentiate them, you may have a big blurry image or a high-quality small one. That’s why we recommend you use high resolution to avoid pixelation when the image is enlarged.
Calibrating the monitor
The next step is to ensure that your monitor is calibrated. During this process, you want to ensure that the desktop screen can project the image just as it will be seen on paper. Failing to do so will lead to color and font distortions once the picture undergoes the large format printing.
Hence, the most important industry standards you should follow are:
- Gamma: set to 2.2
- Black: set to 0.4
- White brightness: set to 95
- White color temperature: set to 6500K
Remember that different monitors have different settings. That’s why you should calibrate your monitor at least once per month. You can also double-check the colors and quality of the printing company’s computer monitors to ensure you get the desired product.
Choosing the right tools
The next step in the large format printing process is to choose the right tools to edit your image. This mostly comes down to choosing your desired photo manipulation software.
The most common ones graphic designers use are Adobe Photoshop, Illustrator, or InDesign. Even though it’s based on personal preference, the first two have two main differences.
While Photoshop is a pixel-based software, Illustrator relies on vectors. Since vectors are 2D shapes created from equations, many people prefer this program for large format printing. Even though Photoshop can scale quickly, you may end up with a blurry image due to the limited amount of pixels.
Editing the images
After choosing the desired software, you can make use of the various tools they offer. You can use a few hacks to get your image printer-ready. These include:
- Choosing the right DPI
- Editing in 16 bits
- Using lens correction
- Resizing and cropping
- Converting fonts into vectors
- Adjusting sharpness
- Soft-proofing
Choosing the right DPI
First, you should always watch out when choosing the right DPI. This stands for dots per linear inch and is used to measure the resolution of an image. Since it applies both for on-screen editing and printing, it’s especially useful for large format printing.
When editing your picture, ensure the DPI you use is either 300 or 360. However, most printing services will change this setting to 360 themselves. If you do it yourself, you’ll at least have control over the process and know how the image will turn out.
Editing in 16 bits
Next, you should ensure that you’re editing the file in 16 bits. Even though the human eye cannot easily differentiate between 16 and 8-bit channels, it still affects the printing process. The biggest difference will be seen in the lines since using higher bits will make them clearer.
Lastly, remember that while you can change the 16 bits into 8, you won’t be able to do it the other way around.
Using lens correction
The first actual editing you should do is use lens-correcting tools. Even the best photographers experience chromatic aberration when taking images. When this happens, you’ll notice unwanted color at the edges of objects due to light distortions from the lens.
If such an issue arises, it’ll be even more visible once the image has been printed. Thus, always make use of any lens-correcting tools when available. They mostly come in the form of filters or applying a setting to remove the chromatic aberration.
Resizing and cropping
Next, you focus on resizing and cropping the image. In this step, you can easily manipulate the file to your desire. This is also the step to enlarge the photo and eliminate unnecessary parts.
Furthermore, with the proper cropping, you’ll have control over the image’s appearance. If not done beforehand, the printing service may crop it themselves, and you may lose essential parts of the image.
Converting fonts into vectors
If your image contains any text elements, always convert them into vectors. This is especially crucial if you’re using a unique font to make your company stand out. If the printing service doesn’t have your specific font, it may convert into a default one. Thus, you’ll get a completely different design than you hoped for.
Adjusting sharpness
After you’ve done all the necessary editing, you can adjust the sharpness. This is the final enhancement of the image and is based on how many details it has. Images with fewer details often need less sharpening, while those with a rich detail composition need more.
Moreover, you can consult the printing service to decide how much sharpening is needed based on the material. Whether it’s traditional paper, canvas, or aluminum also plays an important role.
Saving with the correct file type
The last step in preparing images for large format printing is saving them in the correct file type. While most people save their images in the JPEG format, it loses image data when compressed. Thus, it’s best to use file types such as TIFF, PSD, or PDF.
Even though TIFF is mostly used for this kind of printing, it’s recommended that you double-check with the printing service. It’s one of the highest-quality formats, especially when it comes to large scale printing.
Conclusion
After discovering how to prepare a photo for large format printing, you can use it to further enhance your company’s marketing strategy. If you follow this step-by-step guide, you’ll ensure the best possible results.
Remember that this is a delicate process that takes time and careful planning. Even if you’ve created a flawless design, don’t forget to hire a professional service if you don’t have any prior experience.
Lastly, we hope this article has helped you learn how to prepare images for large format printing and the process behind it. If you ever need a good large format printing service, feel free to check out what we offer!
Filter Posts by Tag
related posts
Halo lit dimensional signage has a unique appearance compared to a typical lettered sign. Learn more about the benefits of Halo Lit Signs.

A striking mural creates a great first impression and helps to enhance the shopping experience for your guests. Check out the benefits of wall murals.
What are common backdrop locations, and how do they benefit business? Read on how businesses benefit from custom wholesale backdrops.
