
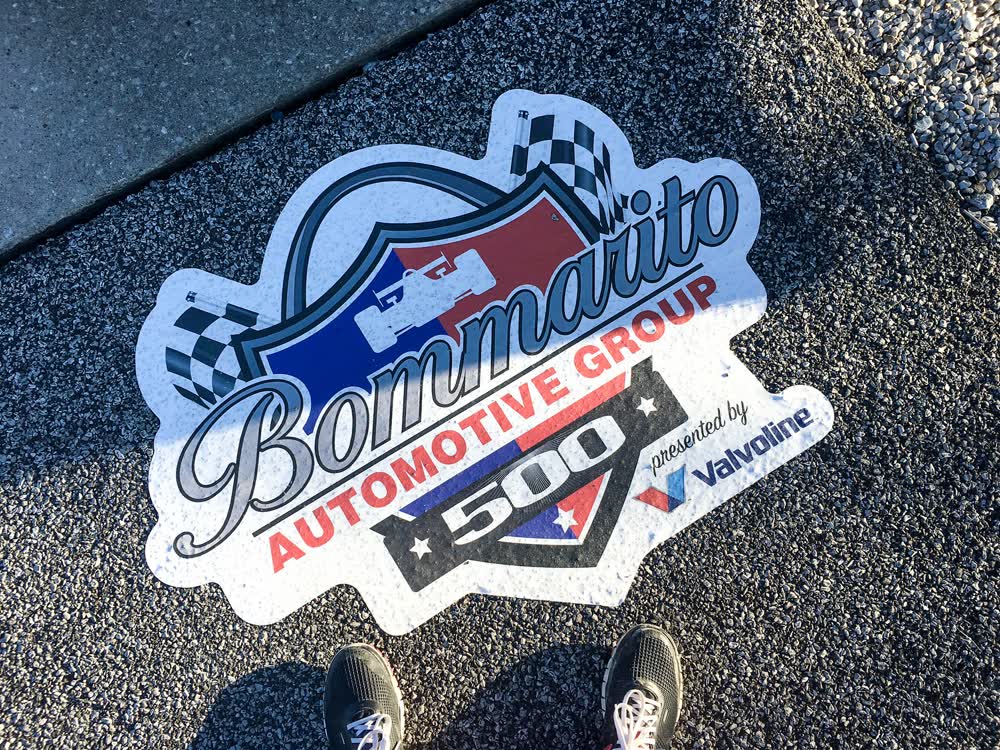
Many retailers use floor graphics in their stores. They help direct traffic, alert customers to sales, and compliment other branding. Have you ever wondered how they got there? This article describes the full journey of a floor graphic from when it arrives in the store to when it is removed. Not everyone is a professional graphic installer, so hopefully, these tips help save you time, increase the lifespan of your graphics, and save you money.
Installing Floor Graphics:
Installing floor signage is similar to putting a new screen protector on your phone. Taking a little extra time to get it right means it will last for a long time and not leave behind any bothersome bubbles.
Clean the Floor:
The corners and edges are where adhesion is the most important, so it is wise to play it safe by cleaning more area than just where you plan to place your graphic. There are three steps to thoroughly cleaning the floor before laying down your vinyl floor graphic.
1. Sweep. This is the most important step. If you install your graphic over crumbs, hairs, or dust, it may peel, bubble, and fail to stick to the floor.
2. Wash. This step isn’t anything out of the ordinary either. Washing your floor with a mop or a wet rag and soapy water helps remove stains and sticky crumbs that could stop the vinyl from adhering properly
3. Cleanse. If the floor has oil residue (common in kitchens, restaurants, and food courts), use alcohol wipes to remove any grease. Even a small amount of oil acts as a layer between the vinyl and the graphic, causing the graphic to lift and peel off.
Dry the Floor:
After thoroughly cleaning the floor, make sure it is dry before putting the graphic down. You can use a towel to dry it off but be careful it doesn’t leave lint behind. Don’t wait for more than an hour between cleaning the floor and installing the graphic. The longer you wait, the greater the chance of dust and crumbs accumulating onto the floor again.
It’s always tempting to jump right to the final step and stick your new graphic to the floor. But remember, fully preparing the spot for your floor graphic is like preheating the oven at the start of a recipe. It’ll help the whole process flow a lot better.
Follow the Instructions:
Most graphics will come with instructions on how to stick the vinyl to the surface. For each manufacturer, they are slightly different. Having two or three people available to help with larger floor graphics can be very useful. They can help hold the graphic flat and stand back to make sure you’re positioning it where it looks best.
Give it Some Time:
Well done! If you managed to lay the graphic down without any major issues, you’re doing wonderfully. Now it’s crucial to keep custodians, absent-minded pedestrians, and graphic admirers off the premises for the next 24 hours.
Some nifty tips for making sure this happens:
- If the business is closed on weekends, think about installing floor graphics Friday afternoon.
- Wet floor signs used by custodians should be adequate in less busy indoor areas
- Use traffic cones and safety tape in busier areas, like on a sidewalk or parking garage.
- Position a desk or table over the graphic while it firms up in indoor venus
Regular Maintenance:
After 24 hours, your floor graphic should have become one with the original surface. Now custodians can treat it as if it’s part of the floor. The main thing to watch out for is puddles forming on the vinyl or stains from oil-based solvents.
Removing Floor Graphics:
The longer the graphic has been installed, the more difficult it will be to remove. Small, short-term graphics should peel off relatively easily by picking a corner and then pulling the vinyl away from the surface at a steep angle. Removing larger or long-term graphics might require tools such as:
- A credit card to start the removal process (Don’t use a knife, you could damage the floor.)
- A hair dryer for heating the graphic
- More task-specific equipment like heat torches and removal solvents may be necessary for removing especially large or long-term graphics (primarily just for the professionals)
After it’s off, there will likely be a buildup of grime outlining where the graphic was stuck. This buildup will come off with mopping and a good amount of elbow grease.
Note: The floor under a long-term graphic may appear darker than the rest of the surface. This difference is due to the floor graphic protecting the surface underneath. The rest of the floor has faded because of UV exposure. This effect should fade with time. In the meantime, maybe it’s time to start designing your next graphic.
Hire a Professional:
If all of this is just too much, please don’t stress. Professional floor graphic installers will jump at the opportunity to install or remove your vinyl graphics for you. In fact, letting the professionals do it saves time and decreases the chance of damaging the print or your floor. Whatever you decide, it’s good to know how to install and remove floor graphics on your own.
Filter Posts by Tag
related posts

Maximize your brand's potential with these top graphic design tips. Learn the greatest graphic design ideas and tactics for a successful launch.
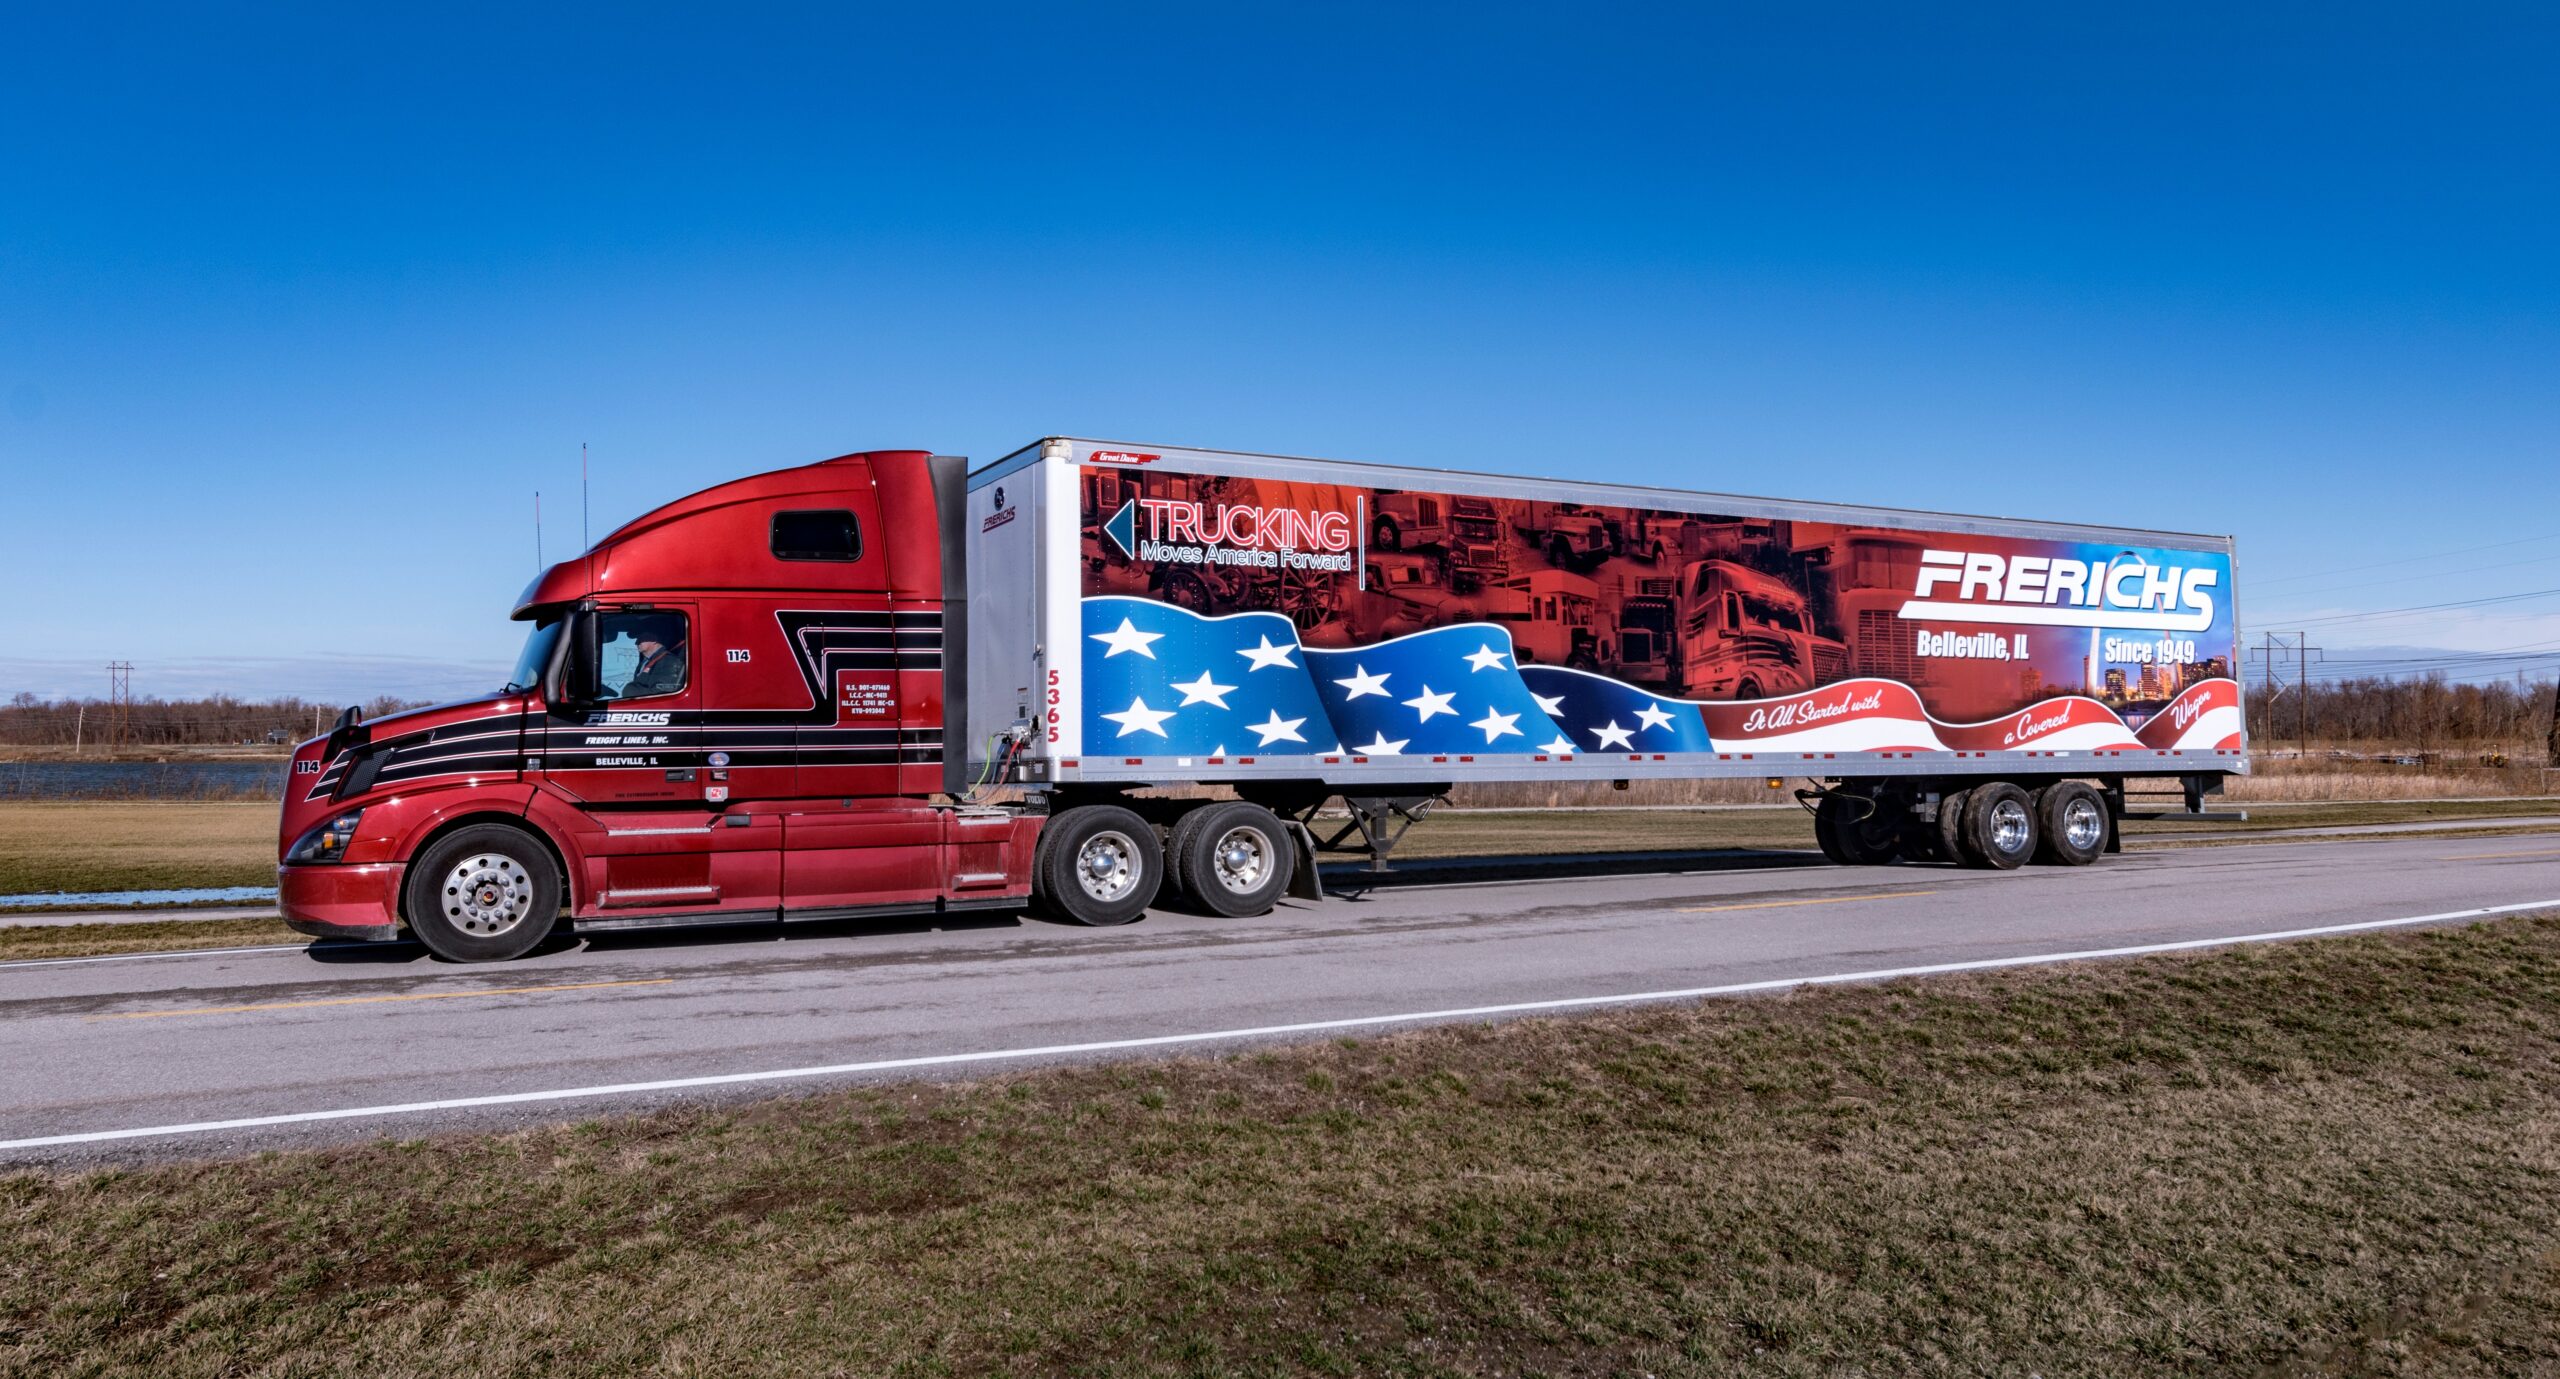
Turning a vehicle into a mobile billboard is an excellent advertising strategy. But are fleet wraps durable? Learn from experts and find out where to get them.
Placing store graphics on the floor does necessitate some unique design considerations. Read the tips for eye-catching floor graphics.
