
How to Insulate an Enclosed Trailer: Your Step-By-Step Guide
Enclosed trailers can serve many purposes, and the possibilities are endless when discussing their uses. With the right customizations, you can use...
5 min read

There can be many reasons for needing to repurpose your trailers. Knowing how to turn a utility trailer into an enclosed trailer will save you thousands and provide value to the business.
Enclosed trailers can be used for storage as they offer protection from bad weather and theft. They’re also suitable for moving and transporting materials, operating mobile businesses, and recreational purposes. Naturally, the trailer has to be perfectly done and have the capacity to withstand various adversities coming from the weather conditions or moving.
If you have a utility trailer, you can transform it into something with many use cases for almost any business. In the article, we’ll provide a step-by-step guide for making an enclosed trailer and all the tips and tricks to help you be more effective.
To make this project work, you will need a decent amount of skill and experience with the necessary tools and materials. There will be a fair amount of drilling, cutting, welding, etc., which will require crafty hands that know how to operate torches, hammers, and drills.
It will also be necessary to have some experience with various materials like plywood, polyvinyl, and aluminum. The final product should be stable and able to withstand weight. Moreover, it should be able to be airtight, insulated, and secure. Most of all, it needs to be functional.
Here are the steps for how to build an enclosed trailer from utility trailer:
Write down your ideas and morph what you imagine with the shape of the utility trailer at your disposal. Remember, simplicity in design will make for a better end product, as it’s much easier to establish functionality without intricate details.
Start by establishing the purpose of the trailer. What’s it for, where will it be located, and how often will it be used are the three most important questions you must answer in your design.
Furthermore, one of the most crucial elements in your design is the fenders for the wheels. You might need to fit them in the design if your utility trailer doesn’t have them already.
You should determine the shape, height, and width while also considering the materials used for walls, flooring, frames, windows, door, etc. Write down how thick you want the materials to be and how many nuts, bolts, and nails it will take to hold them together.
This task is only possible with the proper tools. Here’s what you need to have:
Additionally, you will need a measuring tape as part of your toolset. You will need torches to cut and join metals as per your design, a caulking gun to seal gaps and holes that might appear during construction, and a utility knife to cut the plywood and other fabrics. The other tools are self-explanatory.
As for materials, you must follow what is drawn in the design, even if it takes longer to find the specific fabrics. Here’s what generally is needed to build an enclosed trailer:
It will be up to you and your design, but you can use either plywood, polyvinyl, steel, or aluminum for the trailer. The latch and hinges are for the door, and the nuts and nails are for connecting fabrics.
Depending on the trailer's purpose, you may need glass for windows and electrical installation with lights.
Measure using the measuring tape and create marks with a pencil to know where to execute the cuts. Use fractions or decimals for precise measurements, and always re-measure before cutting.
Once you cut out separate pieces, mark them with a unique number to know where each part fits once you begin making the assembly. You should also mark individual parts as left, right, top, or bottom to know which side they belong to.
When performing the cuts, using the right tools for every material is extremely important. The utility knife is best for cutting plywood and polyvinyl, while the best use for a saw is for wooden beams. The cutting torch is for cutting the metal sheets, and the welding torch is for joining them.
For better quality cuts, cut with consistency. Don’t apply too much pressure, and don’t go too slow. Always cut in one direction to avoid jagged edges, and never change angles.
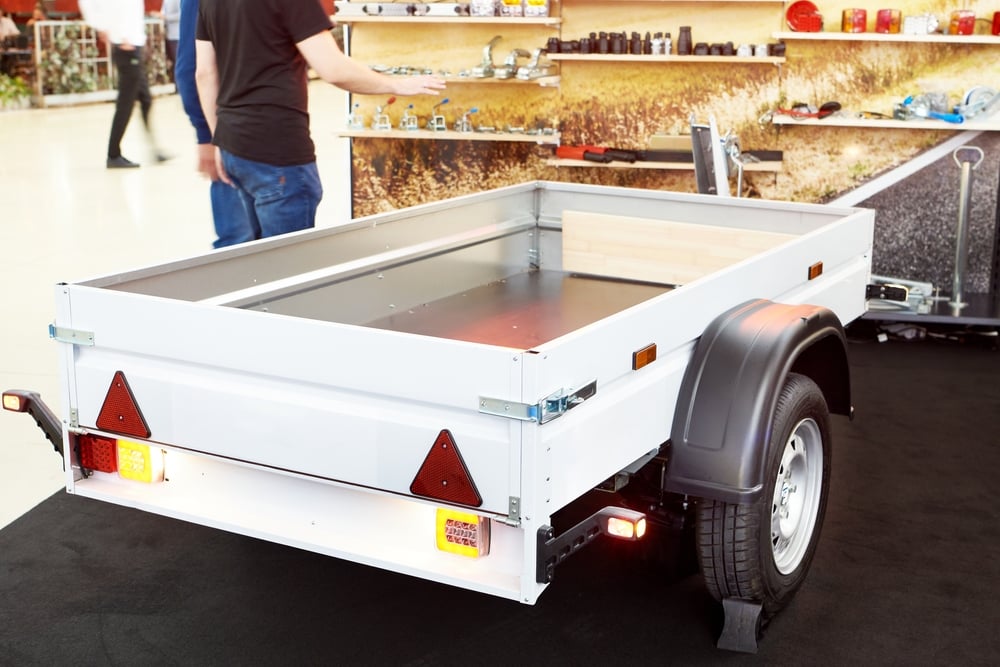
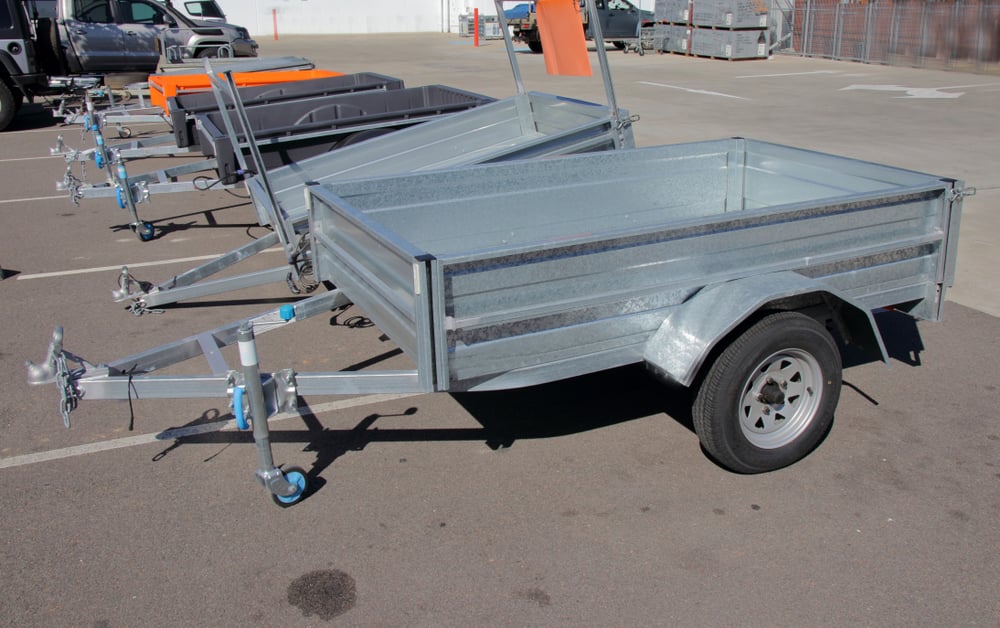
It’s time to build the foundation upon which your trailer will rest. You already have the most critical part, which is the utility trailer, and all that needs to be done is to decide whether you will keep the flooring or set up a new one.
As early as the design phase, you would have decided upon what the floor would look like, and it would depend mainly on the future purpose of the trailer. If the floor is in good shape and made of a durable material like metal or polyvinyl, you can keep it.
If the floor is damaged, or if you determine it’s not strong enough to support the weight it is supposed to carry, you should build a new floor. Use aluminum sheets to make the platform and cover them with plywood boards.
Ensure everything fits perfectly; if it doesn’t, you can cut up new boards or improvise to fill any gaps.
Use the wooden bars to make the wall frames on all four sides. The structure of each wall needs to be solid and fit with the frame's dimensions at the bottom. Connect the wooden bars as per your design.
First, assemble the frame of each wall and install the supportive bars that help with weight distribution and balance. Once ready, you can put the walls up on the platform. Connect the walls and make sure the structure they have formed is solid.
Once the walls are up, you can put the roof on top to form a cage-like structure that will be the base for the walls. Connect the aluminum with these wooden bars as per the design. Be mindful of where the door and windows should be as you close the structure.
Before installing the plywood on the inside to complete the wall, you should inspect for holes. Close any gap you see with the caulking gun to make the trailer waterproof.
Finally, put up the plywood from the inside, connecting it to the wooden bar structure. At this stage, the trailer is beginning to resemble its final version.
Set up the door frames and install the hinges in their designated places. Put up the door afterward.
If you hadn’t made holes for the windows during step three, you could make them now. Cut holes in the empty spaces of the walls without support bars. Draw where you want the window and cut over the lines with a jigsaw.
Use the caulking gun to seal the edges. For convenience, you can use a window with a rubber seal around its frame. With such a window, you only need to put it up and screw it on.
This part is optional but advisable in the process of how to turn a utility trailer into an enclosed trailer. Your business may only require functionality from the enclosed trailer, and that’s ok.
Even in such cases, it is still a good idea even in such cases as paint protects the metal from corrosion and rust. It also prevents dirt and grime from sticking to the surface, making cleaning easier.
For aluminum and plywood, you can use a clear coat or a sealer as the final layer to enhance the gloss and protection of the paint. Use spray guns, brushes, and rollers for applying the primers, paints, and sealers.
For the outside, you should use paint compatible with metal surfaces. Clean the surface and let it dry. Then mask any areas you don’t want to paint in this sequence. That can be the trailer's windows, doors, or other surfaces.
First, apply the primer. Follow the instructions on the package for mixing and applying. You may use a brush, but finer results will require the accuracy and effectiveness of a spray gun. Next, you can apply two coats of paint of your choice using the same method.
For plywood, you should apply an oil-based or latex-based primer. This will help seal the wood and prevent moisture from accumulating. You should use a wood filler before applying the primer to fill any gaps in the plywood.
Protect any areas you want to avoid and apply the paint you choose, ideally, oil or acrylic latex-based. Apply multiple coats and let them dry completely before applying the next one.
Depending on the purpose of your refurbished trailer, you may need to brand it for marketing purposes. Order stickers with your branding and slogans and stick them in places you deem adequate.
Knowing how to turn a utility trailer into an enclosed trailer can help you expand your business. You can use the refurbished trailer for many purposes, including transport and storage.
The preparation for the transformation starts by making a detailed design, getting the suitable materials, and gathering the necessary tools for the project. Plywood, wooden bars, and aluminum are the best materials for the walls, floors, and roofing.
However, if you need professional help, we are always here, Craftsmen Industries! Feel free to contact us or go through our website for additional information.
Enclosed trailers can serve many purposes, and the possibilities are endless when discussing their uses. With the right customizations, you can use...
The TaylorMade Golf Company and Craftsmen Industries have a legacy of breaking traditions and exploring new frontiers. Together, we share a common...

The Craftsmen LoJoe™ is a cutting-edge, easy to deploy drop trailer engineered for maximum space and easy access. Customers are only one step* away...