
What Role Do Fleet Vehicle Graphics Play in Corporate Branding?
Building a strong brand identity has never been more important in today's fast-paced business community and competitive landscape. Both small and...
5 min read
Vehicle graphics are a fantastic way to market your brand while conducting business on the go. Their biggest benefit is that you can swap them out whenever you change your logo or want to promote a campaign. Below, we've created a guide on how to remove vehicle graphics effortlessly.
To effectively remove graphics of any size, we’ve prepared several tried-and-tested methods of removal that will get those pesky stickers right off. Keep reading to learn what materials you need, tips and tricks, and more.
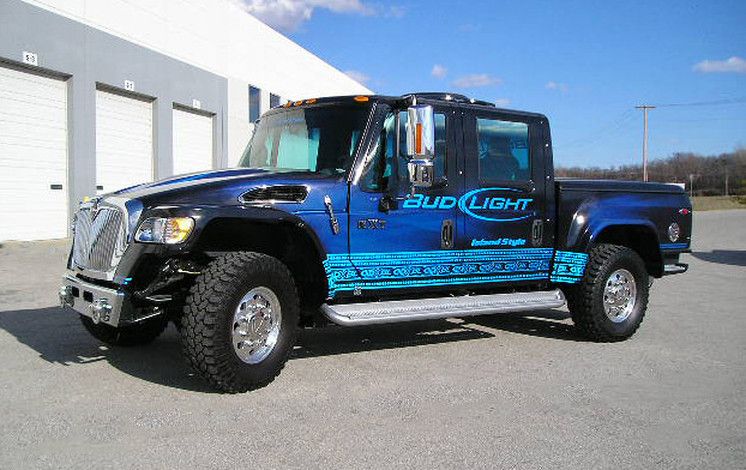
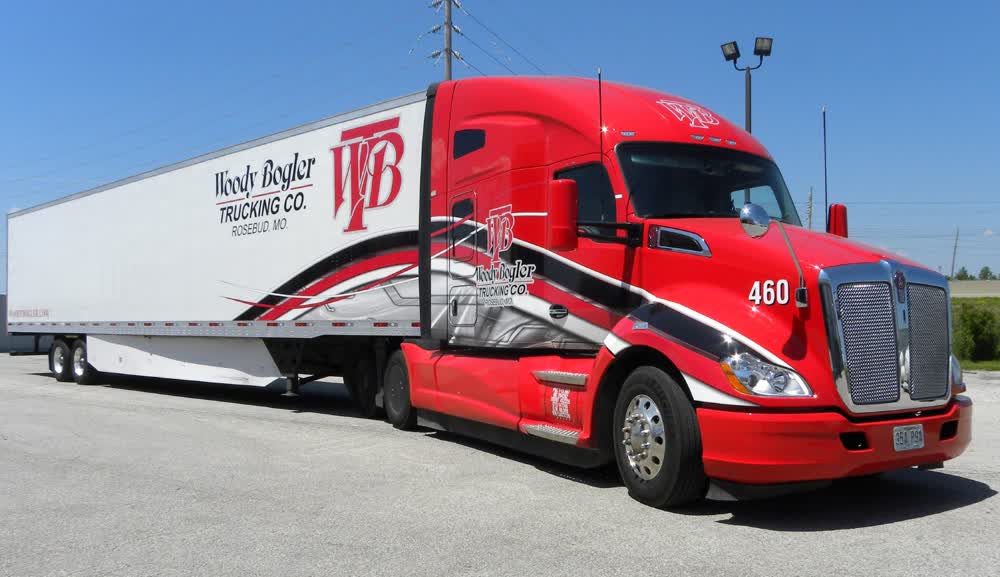
Source: craftmenind.com
Is removing graphics from a vehicle easy? The good news is that there are many ways you can remove vehicle graphics quickly and easily. However, taking measures to first and foremost invest in quality wraps like our advanced materials and finishes is the first step to long-lasting decals that will also be easier to remove when the time comes.
The best fleet vehicle wraps won’t peel at the edges, produce bubbles, or wrinkle. If you want to remove your old vehicle graphics and replace them with spanking-new decals that are made to last, here are some methods to try:
If your stickers aren’t that old and cracked, you’ll probably manage to take them off in one piece. For this method, you’ll need a heat source, a plastic razor, a WD-40 spray, a Goo Gone adhesive remover, and a cloth. For the cloth, we recommend a more rugged one like the Scott Shop Towels, which have specialized use in mechanics.
Here are the step-by-step instructions:
If you’re working with a larger graphic, you can break it off into sections. Otherwise, aim to peel it off at once. And remember – too much heat may warp the metal or burn off the stickers, so be careful.
Note: Always wipe down the surface before beginning with removal to eliminate dirt and debris.
Our second method involves an eraser wheel, a drill, and an adhesive remover. Below are the step-by-step instructions:
Note: Most eraser wheels will damage lacquer or acrylic paints. Always read the product manual before using the eraser on your vehicle to ensure paint protection.
GraphXOff is a gel that removes decals, adhesives, and paints with minimal effort. We found that this method works the best, especially if you’re removing graphics for the first time and don’t want to risk it by using heat.
Here’s how to remove vehicle graphics using GraphXOff:
Note: Only use this method on filon fiberglass material. Avoid metal, since it’ll damage it, as well as take the paint off.
If you don’t feel like buying a whole kit of products for a few stickers, some of our alternative solutions might work just as well. For example, you can use white vinegar instead of GraphXOff to avoid chemical exposure.
Alternatively, you can use a garment steamer to heat the graphics. It works the same as the first method we explained above.
Finally, rubbing alcohol is an excellent option in place of other types of removers. It’ll result in a clean and neat finish, and you won’t have to apply too much pressure to scrape off the stickers.
Is there a specific method for removing vehicle graphics without damaging the paint on your car? If you’re removing graphics from a delicate area, you don’t want to apply too much heat and should stick to a hair dryer instead.
To make the removal process easier, roll the vinyl lettering as it comes off to get it off in one piece. If you have dark car paint, any imperfections will stand out immediately, so you’ll spend more time polishing your car.
So, how long does it typically take to remove vehicle graphics? The timeframe depends on your vehicle’s size, model, and material and the age of the stickers. Full wraps can take days, while smaller signage may only take a couple of hours.
The condition of the graphics also makes a difference. For example, if your graphics are newer and uncracked, you can just peel them right off. However, if they’re old, sun-damaged, and cracked, you’ll go through various removal steps to get rid of all residue.
Is removing graphics from a vehicle easy? Not always. If you’re struggling with your graphics too much, you can get them professionally removed. Car shops will use specialized equipment you might not have in your DIY kit to speed up the process. However, keep in mind that car shops typically charge by the hour, which can quickly add up the costs.
Below are some expert tips for removing vehicle graphics as effectively as possible:
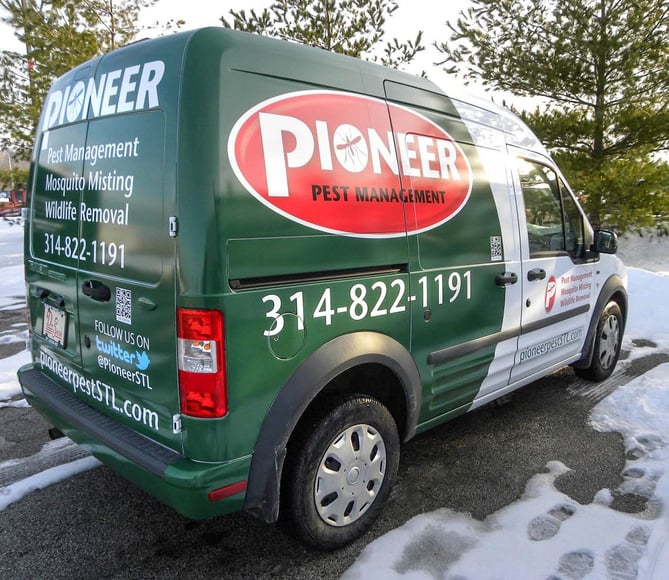 Source: craftsmenind.com
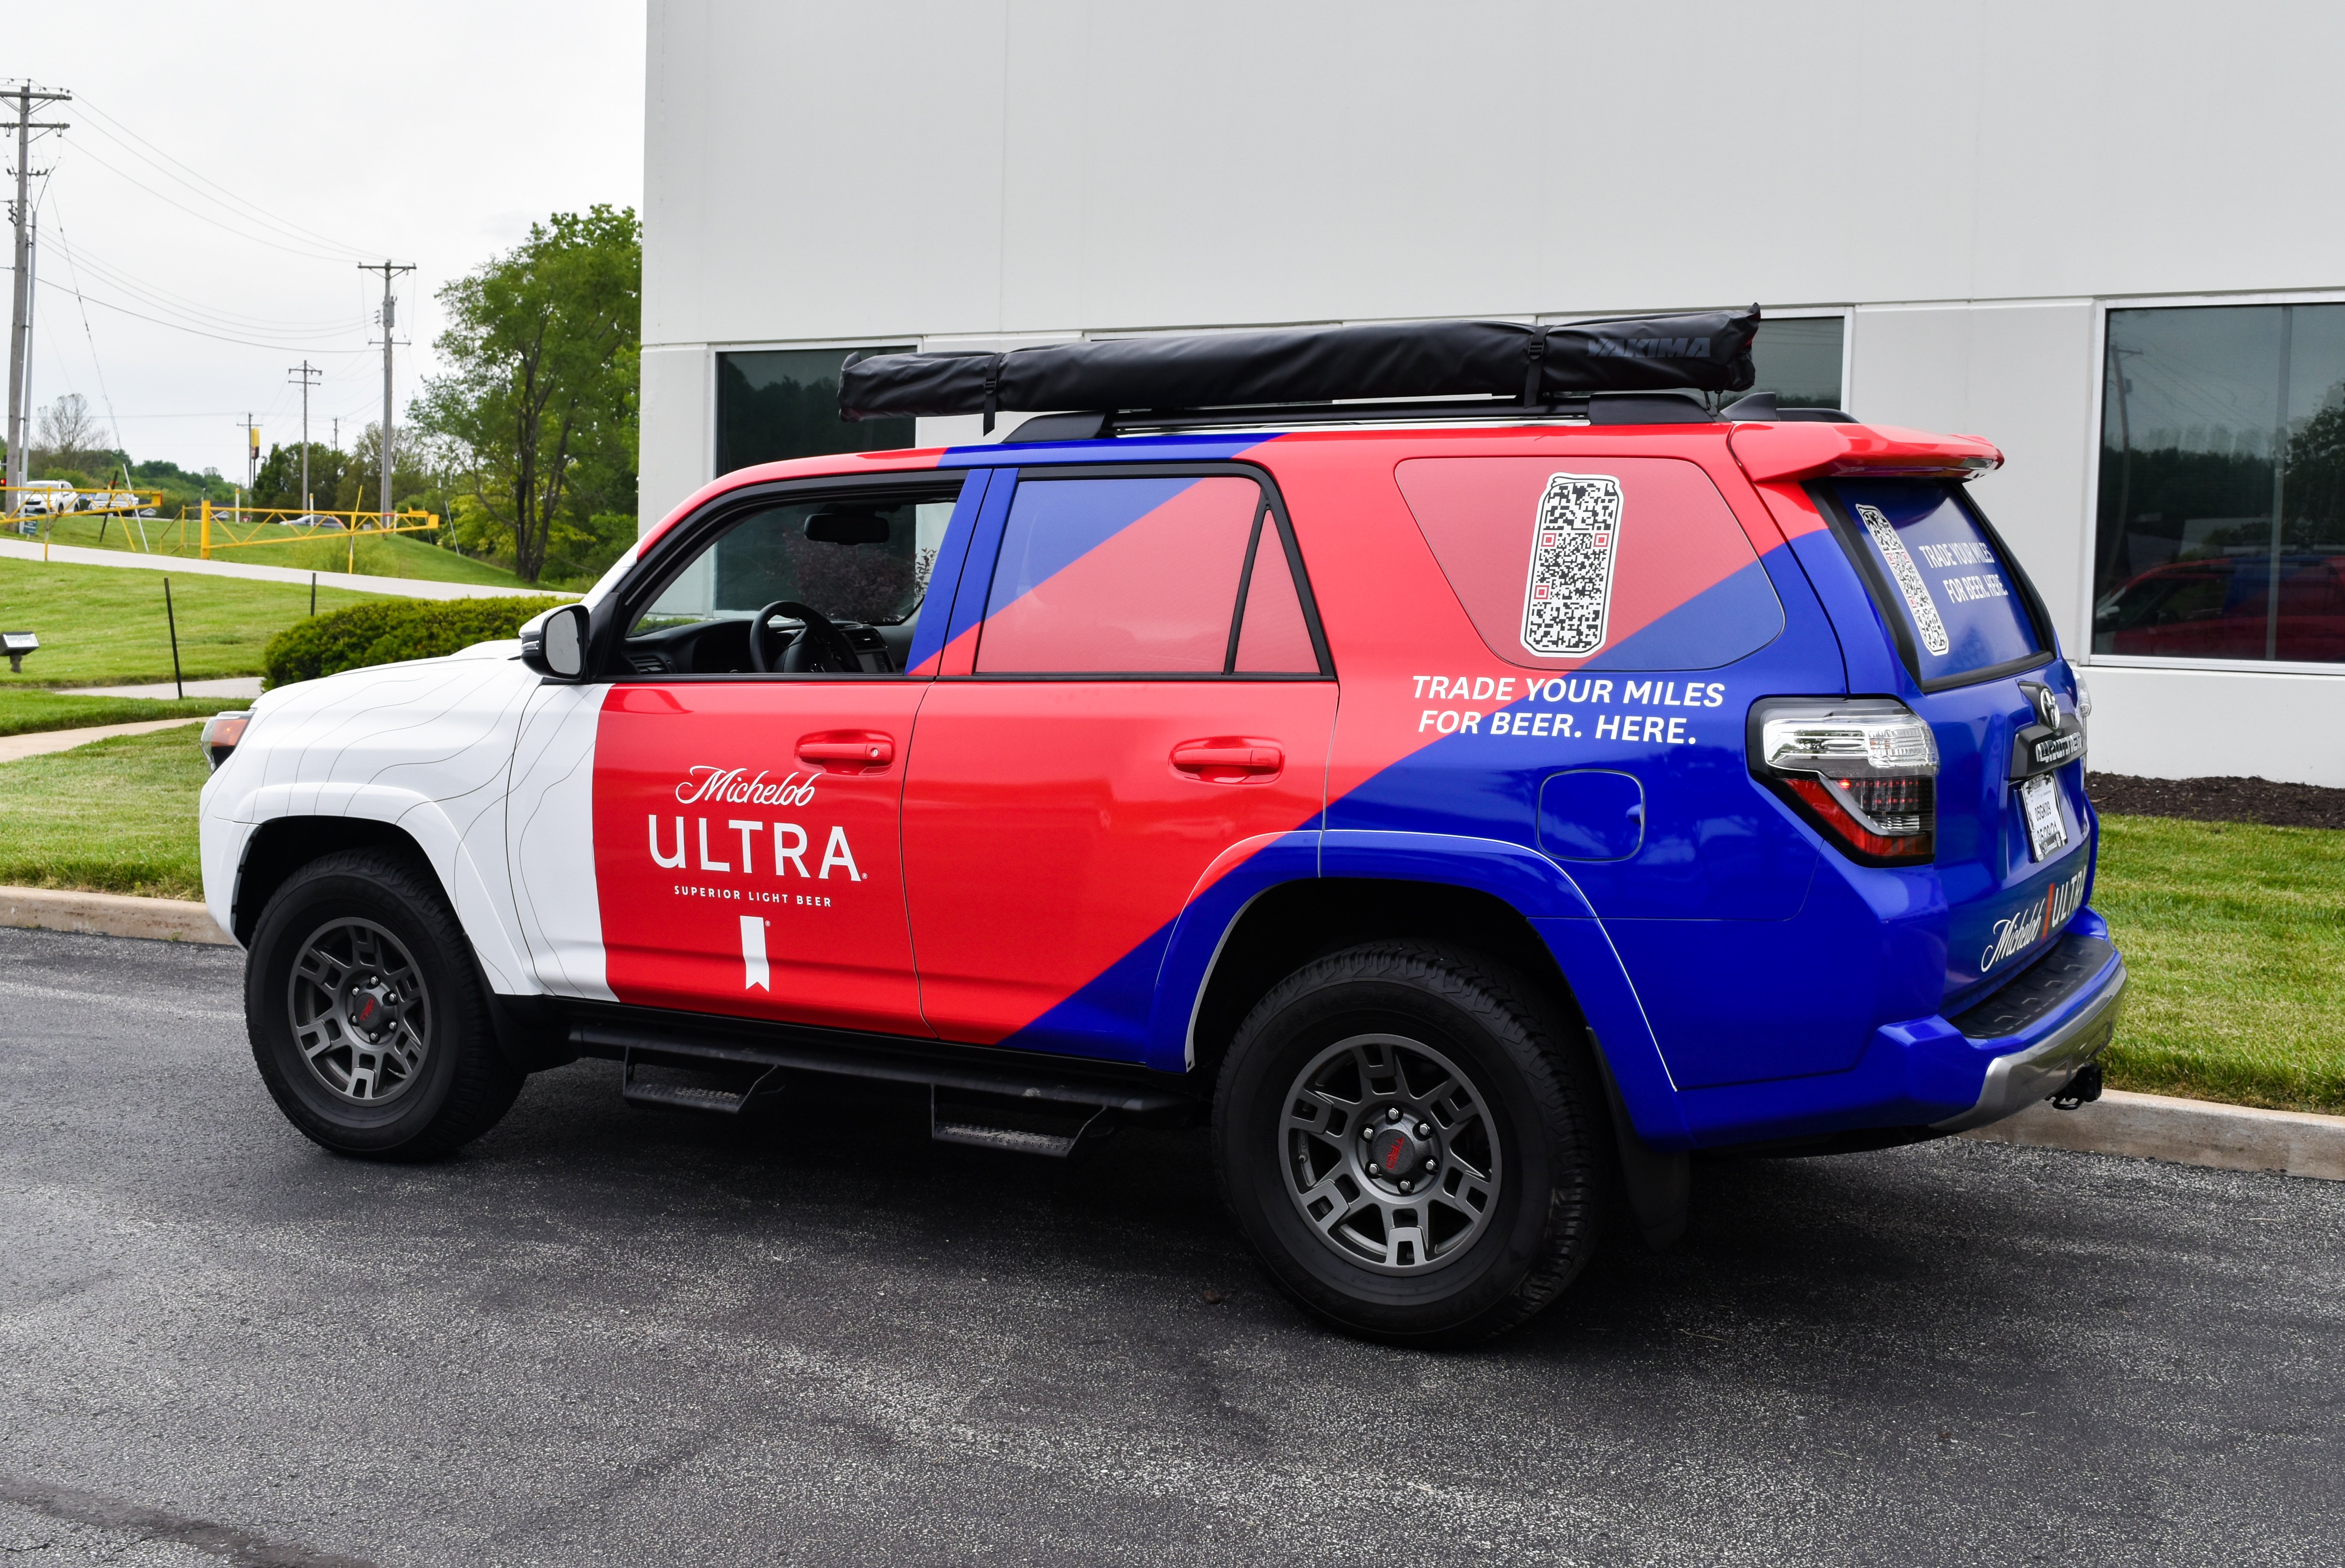
With our expert tips, you can learn how to remove vehicle graphics from your business vehicle in just a couple of hours. Our top three methods involve heat, an eraser wheel, and a remover gel. Alternatively, you can use stuff you already have at home, like a steamer, rubbing alcohol, or vinegar.
Remember that investing in high-quality graphics means easier removal and a smaller mess when the time comes. They’ll also withstand the test of time and look good years later.
If you want to ensure your new branded wrap will last you a long time, we use top-quality film at Craftsmen Industries that will withstand wear and tear while delivering a brand-new look to your advertising vehicle. Contact us for a fully customized vehicle wrap to get your brand story rolling today.

Building a strong brand identity has never been more important in today's fast-paced business community and competitive landscape. Both small and...
Wrapped vehicles often seem like mythical creatures, appearing on the road just long enough to get a good look at a fun design or message during an...
Vehicle wraps can turn your company’s fleet of vehicles into advertisements on wheels. Fleet graphics are cost-effective and high-impact. They...