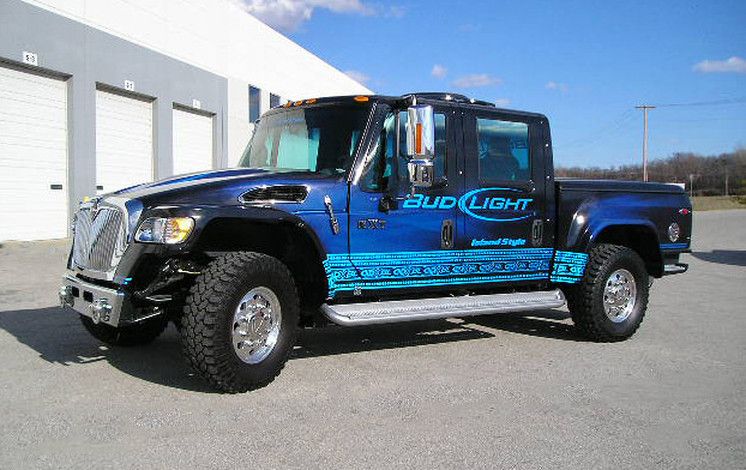
Vehicle graphics are a fantastic way to market your brand while conducting business on the go. Their biggest benefit is that you can swap them out whenever you change your logo or want to promote a campaign. Below, we’ve created a guide on how to remove vehicle graphics effortlessly.
To effectively remove graphics of any size, we’ve prepared several tried-and-tested methods of removal that will get those pesky stickers right off. Keep reading to learn what materials you need, tips and tricks, and more.
Source: craftmenind.com
How to Remove Vehicle Graphics Effectively
Is removing graphics from a vehicle easy? The good news is that there are many ways you can remove vehicle graphics quickly and easily. However, taking measures to first and foremost invest in quality wraps like our advanced materials and finishes is the first step to long-lasting decals that will also be easier to remove when the time comes.
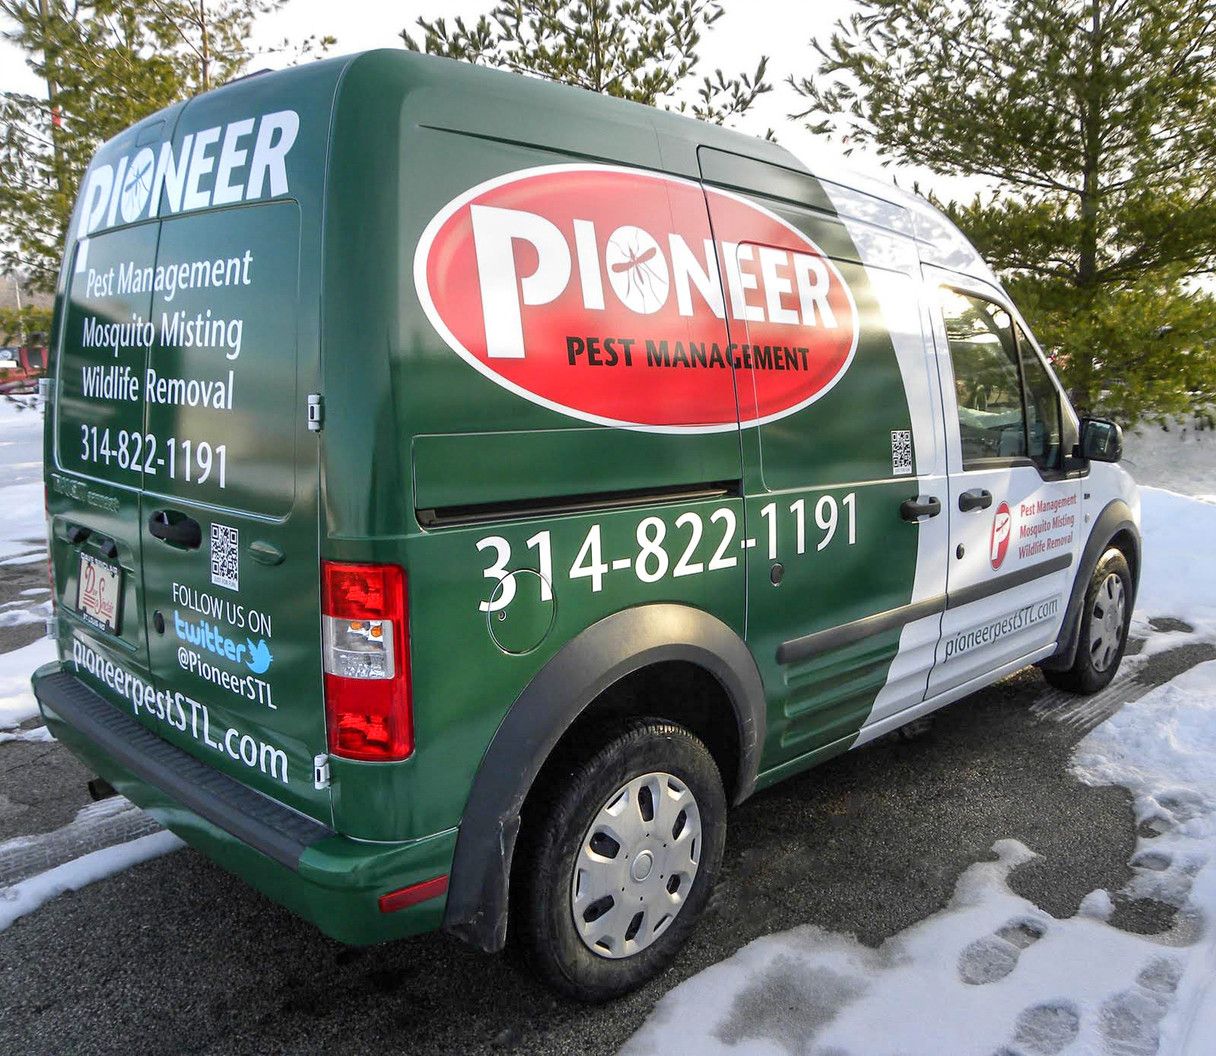
The best fleet vehicle wraps won’t peel at the edges, produce bubbles, or wrinkle. If you want to remove your old vehicle graphics and replace them with spanking-new decals that are made to last, here are some methods to try:
1. Using a hair dryer or heat gun
If your stickers aren’t that old and cracked, you’ll probably manage to take them off in one piece. For this method, you’ll need a heat source, a plastic razor, a WD-40 spray, a Goo Gone adhesive remover, and a cloth. For the cloth, we recommend a more rugged one like the Scott Shop Towels, which have specialized use in mechanics.
Here are the step-by-step instructions:
- Apply low and even heat over the decal; move the heat gun constantly and evenly over the surface.
- After 10-15 seconds, touch the decal; if it’s hot to the touch, it means it’s ready for removal.
- Grab the plastic razor and start scraping off the sticker.
- Apply more heat if it doesn’t come off at once.
- Treat the adhesive using the WD-40 and a towel. Finish off with the Goo Gone to make sure there’s zero residue.
- Finally, go over the treated surface with some soapy water and a sponge for a spotless shine.
If you’re working with a larger graphic, you can break it off into sections. Otherwise, aim to peel it off at once. And remember – too much heat may warp the metal or burn off the stickers, so be careful.
Note: Always wipe down the surface before beginning with removal to eliminate dirt and debris.
2. Using an eraser wheel
Our second method involves an eraser wheel, a drill, and an adhesive remover. Below are the step-by-step instructions:
- Connect the eraser wheel to a drill at 3500-4000 RPM. Anything above 4000 RPM can lead to vehicle damage.
- Turn the drill sideways and start working the sticker. Don’t apply too much pressure to avoid damage to the surface. You can start by testing a smaller area to ensure this method will work on your vehicle.
- Remove part of the sticker and let the drill cool down for 10-15 seconds. Repeat this step until all the sticker graphics are gone.
- Finally, use an adhesive remover like Goof Off to complete the process, and always follow EPA guidelines for chemical removers to ensure safe handling and disposal.
Note: Most eraser wheels will damage lacquer or acrylic paints. Always read the product manual before using the eraser on your vehicle to ensure paint protection.
3. Using GraphXOff
GraphXOff is a gel that removes decals, adhesives, and paints with minimal effort. We found that this method works the best, especially if you’re removing graphics for the first time and don’t want to risk it by using heat.
Here’s how to remove vehicle graphics using GraphXOff:
- Grab the GraphXOff and a paintbrush. This stuff is pretty strong, so use rubber gloves and eye protection.
- Apply the gel evenly over the entire sticker. Layer it around the edges to ensure those come off first – this will make removing the rest of the sticker easier.
- The instructions state to leave the gel on the sticker for 1-20 minutes for it to start working. Typically, you won’t have to wait more than a few minutes before you start scrapping it off.
- Scrape off the remnants using a putty knife.
- Clean the surface by putting TSP powder in a bowl. Grab a cloth, wet it with water, and dip it in the powder. Wipe down the surface where the sticker was applied and clean it thoroughly.
Note: Only use this method on filon fiberglass material. Avoid metal, since it’ll damage it, as well as take the paint off.
Alternative removal products you likely have at home
If you don’t feel like buying a whole kit of products for a few stickers, some of our alternative solutions might work just as well. For example, you can use white vinegar instead of GraphXOff to avoid chemical exposure.
Alternatively, you can use a garment steamer to heat the graphics. It works the same as the first method we explained above.
Finally, rubbing alcohol is an excellent option in place of other types of removers. It’ll result in a clean and neat finish, and you won’t have to apply too much pressure to scrape off the stickers.
Removing Vehicle Graphics Without Damaging the Paint
Is there a specific method for removing vehicle graphics without damaging the paint on your car? If you’re removing graphics from a delicate area, you don’t want to apply too much heat and should stick to a hair dryer instead.
To make the removal process easier, roll the vinyl lettering as it comes off to get it off in one piece. If you have dark car paint, any imperfections will stand out immediately, so you’ll spend more time polishing your car.
How long it takes to remove vehicle graphics
So, how long does it typically take to remove vehicle graphics? The timeframe depends on your vehicle’s size, model, and material and the age of the stickers. Full wraps can take days, while smaller signage may only take a couple of hours.
The condition of the graphics also makes a difference. For example, if your graphics are newer and uncracked, you can just peel them right off. However, if they’re old, sun-damaged, and cracked, you’ll go through various removal steps to get rid of all residue.
Is removing graphics from a vehicle easy? Not always. If you’re struggling with your graphics too much, you can get them professionally removed. Car shops will use specialized equipment you might not have in your DIY kit to speed up the process. However, keep in mind that car shops typically charge by the hour, which can quickly add up the costs.
Additional Tips for Removing Vehicle Graphics
Below are some expert tips for removing vehicle graphics as effectively as possible:
- When using a heat source, park your vehicle in the sun – it’s going to do most of the work. On the other side, avoid direct sunlight when using the gel – it’ll cause it to dry too fast.
- If you do end up drying the gel too much, go with a bit of water over it to loosen it up.
- When the weather is cooler, the gel may take up to 20 minutes to work; this gives you enough time to do larger sections without them drying up.
- Taking off stickers is easier when they’re cracked. However, if your stickers aren’t that old, you can try applying heat with a hair dryer to loosen them up – this works for any method.
- Use a lot of water and elbow grease to speed up the adhesive removal.
- If you’re unsure whether the gel has dried and is ready for removal, test it by scraping off a bit of the edges. If they come off easily, it means it’s ready.
- If there are shadow stains left at the end, you can wet sand the area using a 600-grit sanding sheet and then buffing and waxing the area with compound wax.
- Mind that if the stickers are cracked to begin with, using a heat gun will only break them off further. Use the GraphXOff instead.
 Source: craftsmenind.com
Conclusion
With our expert tips, you can learn how to remove vehicle graphics from your business vehicle in just a couple of hours. Our top three methods involve heat, an eraser wheel, and a remover gel. Alternatively, you can use stuff you already have at home, like a steamer, rubbing alcohol, or vinegar.
Remember that investing in high-quality graphics means easier removal and a smaller mess when the time comes. They’ll also withstand the test of time and look good years later.
If you want to ensure your new branded wrap will last you a long time, we use top-quality film at Craftsmen Industries that will withstand wear and tear while delivering a brand-new look to your advertising vehicle. Contact us for a fully customized vehicle wrap to get your brand story rolling today.
Filter Posts by Tag
related posts
Wraps change an assortment of trucks into a unified fleet into a neighborhood legend. So how is a vehicle wrap actually installed? Read on.

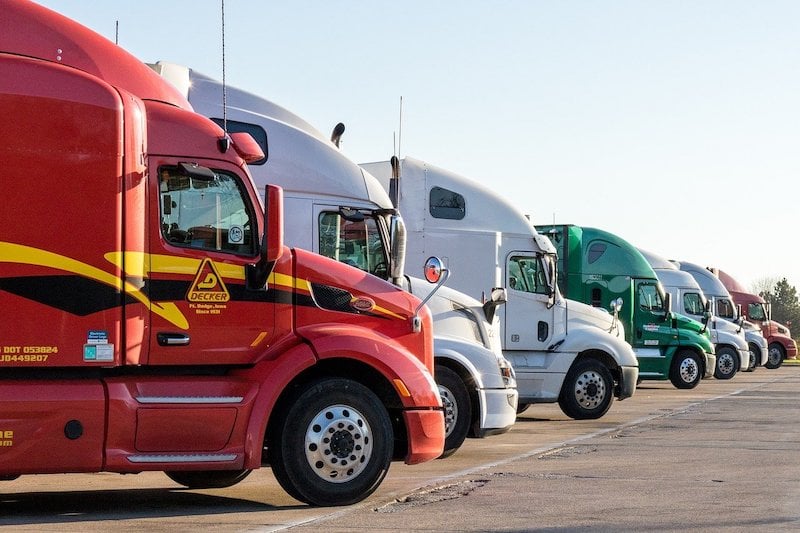
Transform your fleet into mobile marketing powerhouses with custom wraps and graphics. Maximize visibility, brand recognition, and professional appeal on every road.
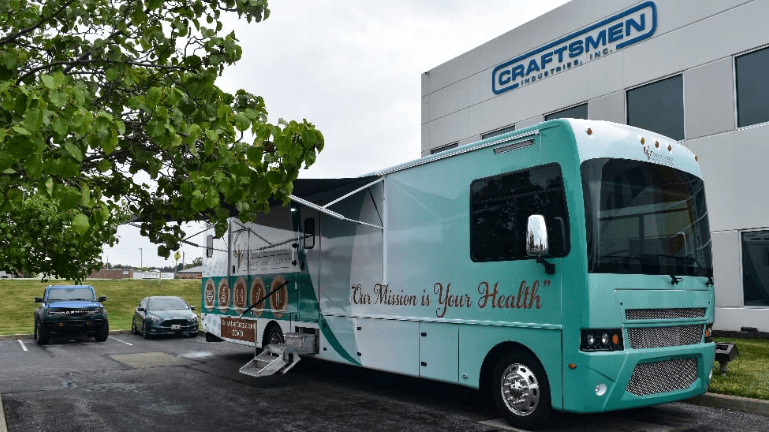
Many people living in rural areas don’t have full access to proper medical care. Visit this page to discover the medical coach vs. ambulance differences.
