
Fleet wrap removal is the process of using controlled heat, proper pulling technique, and safe adhesive solvents to separate vinyl graphics from a vehicle’s surface without harming the factory paint or clear coat.
This guide covers the essential tools and vehicle preparation, heat-based removal methods for different panel types and vinyl films, adhesive residue cleanup and post-removal paint restoration, common causes of paint damage during removal, and when professional expertise is the safest choice.
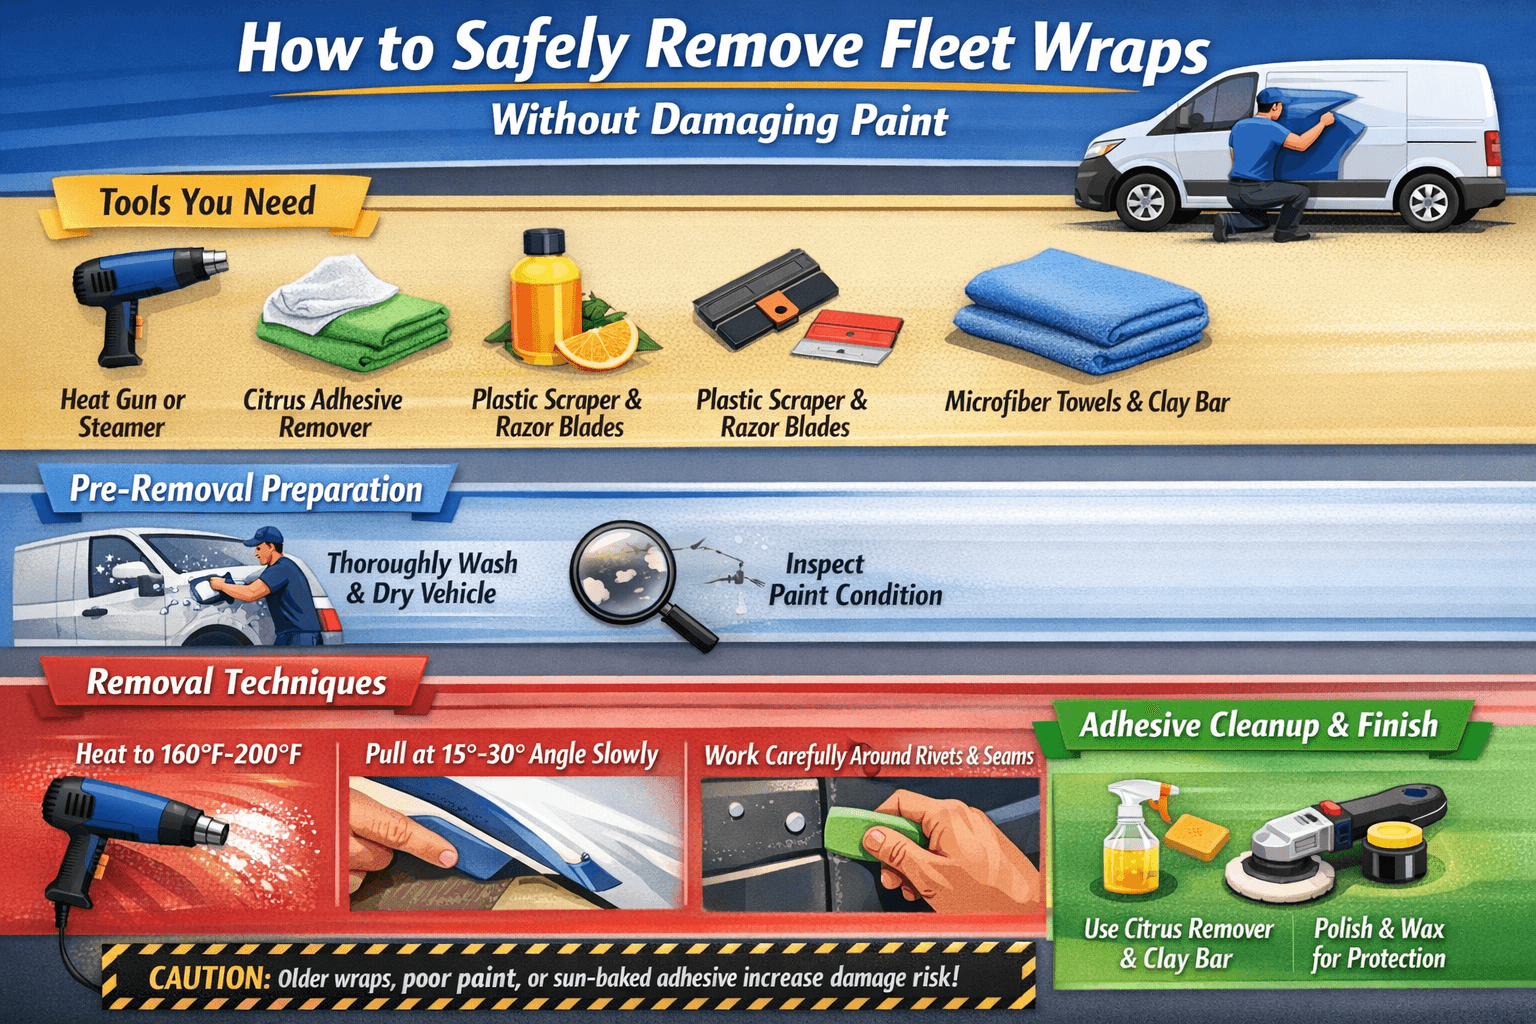
Successful removal starts with assembling the right equipment; industrial heat guns, citrus-based solvents, microfiber towels, and plastic scraping tools each serve a specific role in protecting the clear coat throughout the process. Proper vehicle preparation, including a thorough wash and a paint condition inspection, prevents contaminants from scratching exposed surfaces and identifies vulnerable areas before work begins.
The core removal technique relies on heating vinyl to 160°F to 200°F and pulling it back at a low 15 to 30 degree angle in narrow strips. This approach puts tension on the adhesive bond rather than the clear coat, and it adapts to challenging areas like rivets, seams, and curved body panels. Calendered and cast vinyl films behave differently during removal, so matching your technique to the film type reduces tearing and residue.
Wraps left beyond their intended 3 to 7 year lifespan, low-quality vinyl, sun-baked adhesive, and pre-existing paint defects are the primary reasons removal goes wrong. Recognizing these risk factors before starting protects against costly repaints.
Once the vinyl is off, adhesive cleanup with the right solvent, followed by polishing and a fresh wax or ceramic coating, restores the finish and shields it from environmental damage. For fleet-scale operations where consistency and paint integrity matter, certified professionals deliver the most reliable results.
What Tools and Materials Do You Need for Fleet Wrap Removal?
Fleet wrap removal requires heat tools, adhesive solvents, surface-safe wiping materials, and residue treatment products. The essential items fall into four categories: heating equipment, chemical removers, cleaning supplies, and finishing tools.
According to 3M’s removal instruction bulletin, industrial heat guns or steamers are the primary tools used to uniformly heat graphics to a temperature range of 160°F to 200°F, which softens the adhesive for damage-free removal. The ambient workspace temperature should also stay above 64.4°F, since vinyl becomes brittle in cooler conditions and fractures into small pieces during peeling.
Beyond heat application, the right chemical and mechanical tools protect the clear coat throughout the process. The essential toolkit includes:
- Industrial heat gun or steamer to soften adhesive across large panel areas uniformly.
- Citrus-based adhesive remover to dissolve residual glue without harming automotive paint; apply in small amounts, let it soak for one minute, then wipe clean.
- Microfiber towels to trap particles and adhesive residue without scratching the vehicle’s finish.
- Plastic razor blades or squeegees to lift edges without gouging the clear coat.
- Clay bar kit to remove stubborn adhesive residue that solvents alone cannot dissolve; avoid using on matte finishes, chrome, plastic, or rubber due to its abrasive nature.
- Utility knife to score vinyl into manageable 12 to 15 inch strips before pulling.
- Isopropyl alcohol for final surface decontamination after solvent cleaning.
Having every tool staged before starting prevents mid-project delays that let heated vinyl cool and re-bond. For fleet-scale operations involving dozens of vehicles, this preparation step becomes even more critical, since inconsistent tooling across technicians is one of the most common causes of paint damage during removal.
With the right tools assembled, the next step is preparing each vehicle’s surface for safe wrap removal.
How Should You Prepare a Fleet Vehicle Before Removing a Wrap?
You should prepare a fleet vehicle before removing a wrap by cleaning the exterior thoroughly and inspecting the paint condition underneath. These two steps prevent contamination during removal and help identify potential damage risks.
Does the Vehicle Need to Be Cleaned Before Wrap Removal?
Yes, the vehicle needs to be cleaned before wrap removal. Dirt, road grime, and debris trapped along wrap edges can scratch the clear coat when vinyl is peeled away. A thorough wash eliminates loose contaminants that would otherwise drag across exposed paint during the process.
According to an Avery Dennison instruction bulletin, cleaning chemicals used for vehicle wraps should maintain a pH balance between 5 and 9 to prevent damage to the vinyl film or the underlying automotive paint. Use a mild automotive soap and a microfiber towel to wipe down all wrapped surfaces, paying close attention to panel edges, door jambs, and seams where grit accumulates. Skipping this step is one of the most common oversights in fleet wrap removal, and it often results in preventable surface scratches that require correction afterward.
Should You Inspect the Paint Condition Before Starting?
Yes, you should inspect the paint condition before starting wrap removal. A pre-removal inspection identifies existing defects, such as chips, scratches, or areas of oxidation, that could worsen once the vinyl is pulled away. This baseline assessment also protects against false damage claims after the job is complete.
According to 3M’s removal instruction bulletin, graphics applied to freshly painted substrates before the paint has sufficiently cured are difficult to remove and are likely to cause damage to the underlying substrate. Check for signs of repainting, touch-up work, or rust beneath the wrap edges. Areas with compromised clear coat or prior body repairs demand slower, more careful removal techniques.
Documenting the paint condition with photos before you begin is a practical safeguard, particularly across large fleets where multiple technicians may handle different vehicles. With preparation complete, the next step is selecting the right removal method for your specific vinyl type and vehicle condition.
What Is the Best Method for Removing Fleet Vehicle Wraps?
The best method for removing fleet vehicle wraps combines controlled heat application, proper pulling technique, and section-by-section work. The following subsections cover heat gun use, pulling angles, rivet and seam handling, and curved panel removal.
How Do You Use a Heat Gun to Loosen Vinyl Wrap Adhesive?
You use a heat gun to loosen vinyl wrap adhesive by applying uniform heat across the film surface until the adhesive softens enough for clean separation. According to TeckWrap, maintaining a distance of 5 to 7 inches between the heat gun nozzle and the vinyl surface, while holding the gun at approximately 45 degrees, protects the film from burning.
Before heating, cut the graphic into manageable strips. Sections of 12 to 15 inches wide simplify the process and reduce the risk of tearing. Move the heat gun in steady, sweeping passes rather than holding it in one spot. Once the vinyl feels warm and pliable, begin peeling from a lifted corner. Rushing this step or skipping the sectioning approach is one of the most common reasons fleet removal jobs go wrong.
What Pulling Angle and Speed Prevent Paint Damage?
The pulling angle and speed that prevent paint damage involve pulling vinyl back at 15 to 30 degrees, not 90 degrees. According to Hoosier Decal, this low angle puts tension on the adhesive bond rather than the clear coat, which helps prevent paint lifting.
Speed matters just as much as angle. Pull slowly and steadily, allowing the heat-softened adhesive to release gradually. Yanking the film quickly, even at the correct angle, can leave adhesive residue or pull weak clear coat. If the vinyl resists or begins to tear, stop and reapply heat before continuing. For fleet vehicles with UV-cured ink graphics, expect the film to stretch less and tear more easily, which makes patience and consistent reheating essential.
How Do You Remove Wraps Around Rivets, Seams, and Edges?
You remove wraps around rivets, seams, and edges by applying localized heat directly to these areas and working the film free in small, controlled pulls. Avery Dennison trainer Blake Madsen demonstrates that even complex fleet features like rivets can be managed with the right technique and focused heat application.
Rivets and raised seams trap vinyl underneath, making these spots prone to tearing. Heat each rivet individually, then use a plastic squeegee or fingertip to lift the film edge before pulling gently outward. For recessed seams, a narrow-tip heat gun attachment concentrates warmth precisely where needed. Never use metal tools or razor blades near rivets; these scratch paint and gouge the substrate.
How Do You Handle Wraps on Curved or Recessed Body Panels?
You handle wraps on curved or recessed body panels by working in smaller sections and applying heat more frequently than on flat surfaces. Curves and recesses cause the vinyl to conform tightly, increasing adhesive contact area and making removal harder.
Heat each curved section thoroughly before attempting any pull. On concave panels, such as door handles or body line indentations, pull the film outward at the shallowest angle possible to avoid snapping the vinyl. Convex surfaces like fender flares require even tension across the width of the strip to prevent uneven tearing. In practical terms, fleet vehicles with complex body lines take significantly longer to strip cleanly than box trucks or flat-sided trailers, so budgeting extra time for these areas prevents rushed work that damages paint.
Understanding proper removal technique sets the foundation, but controlling temperature throughout the process is equally critical.
What Temperature Is Ideal for Safe Fleet Wrap Removal?
The ideal temperature for safe fleet wrap removal is 160°F to 200°F at the vinyl surface, with ambient conditions above 64.4°F. The following subsections explain what goes wrong when vinyl is overheated or underheated.
What Happens If the Vinyl Is Overheated During Removal?
Overheated vinyl stretches excessively, becomes gummy, and leaves heavy adhesive residue on the clear coat. When surface temperatures exceed 200°F, the adhesive softens beyond its working range and smears across the paint rather than releasing cleanly. The vinyl film itself can warp, making it impossible to pull in controlled strips. Scorching also becomes a risk; prolonged direct heat discolors both the film and the underlying finish. According to TeckWrap, maintaining a distance of 5 to 7 inches between the heat gun nozzle and the vinyl surface at approximately 45 degrees helps prevent burning. For fleet managers overseeing dozens of panels, even brief overheating on one section creates costly rework that compounds across an entire vehicle.
What Happens If the Vinyl Is Not Heated Enough?
Vinyl that is not heated enough becomes brittle and fractures into small pieces during removal. According to a 3M instruction bulletin, ambient temperatures below 64.4°F (10°C) cause finished graphics to break apart rather than peel in clean sheets. Each fragment left behind requires individual re-heating and scraping, which dramatically increases labor time across a multi-vehicle fleet. Insufficient heat also forces technicians to pull harder, transferring stress from the adhesive bond onto the clear coat. This added mechanical force raises the risk of paint lifting or surface scratching. Working in a climate-controlled bay or scheduling removal during warmer months helps maintain consistent film pliability throughout the process.
How Do You Remove Adhesive Residue After Peeling the Wrap?
You remove adhesive residue after peeling the wrap by applying a safe solvent, allowing it to dwell, and wiping clean with a microfiber cloth. The best approach depends on residue severity, and the sections below cover safe removers, clay bar use, and solvent selection.
Which Adhesive Removers Are Safe for Automotive Clear Coat?
Adhesive removers safe for automotive clear coat include citrus-based solvents and products specifically formulated for graphic removal. According to the UASG, a citrus-based adhesive remover such as a 3M product should be applied in small amounts and allowed to soak for one minute before wiping with a soft microfiber cloth. This dwell time dissolves the glue without requiring aggressive scrubbing that could mar the finish.
Microfiber towels are the preferred wiping tool because they trap particles and residue without scratching the vehicle’s surface. Avoid all-purpose household solvents, acetone, or abrasive cleaners, as these can soften or cloud the clear coat. For fleet vehicles cycling through regular rebrandings, keeping a dedicated citrus solvent on hand streamlines each removal.
Can You Use a Clay Bar to Remove Leftover Adhesive?
Yes, you can use a clay bar to remove leftover adhesive when solvent-based removers alone are insufficient. As noted by the UASG, a clay bar treatment effectively lifts stubborn residue that solvents cannot fully dissolve, but it should not be applied to matte finishes or non-painted surfaces like chrome, plastic, or rubber due to its mildly abrasive nature.
When using a clay bar, keep the surface lubricated with a dedicated clay lubricant or detailing spray to prevent the bar from grabbing the paint. Work in small overlapping passes rather than applying heavy pressure. For fleet operations managing dozens of vehicles, reserving clay bar treatment only for panels with persistent residue saves time and reduces unnecessary contact with the clear coat.
When Should You Use Isopropyl Alcohol Versus Citrus Solvent?
You should use isopropyl alcohol for light, thin adhesive haze and citrus solvent for heavier, tacky residue deposits. Isopropyl alcohol (typically 70% concentration) evaporates quickly and works well on minimal residue left after a clean peel. Because it leaves no oily film, it also serves as an effective final wipe before polishing or applying a ceramic coating.
Citrus solvent is the better choice when adhesive remains thick or gummy, since its formulation penetrates and breaks down the glue bond during a one-minute dwell period. For most fleet wrap removals, starting with citrus solvent on visibly sticky areas and finishing with an isopropyl alcohol wipe produces the cleanest results with minimal clear coat contact.
Understanding proper residue removal sets the stage for restoring and protecting the paint underneath.
Why Do Some Fleet Wraps Damage Paint During Removal?
Some fleet wraps damage paint during removal because of prolonged application, low-quality vinyl, UV degradation, or pre-existing paint defects. The following subsections cover how duration, film quality, sun exposure, and paint condition each contribute to removal problems.
Does Leaving a Wrap on Too Long Cause Paint Damage?
Yes, leaving a wrap on too long causes paint damage by allowing the adhesive to over-bond with the clear coat. When a vehicle wrap is removed properly and within its intended lifespan, which typically ranges from 3 to 7 years depending on vinyl quality and climate, it generally does not damage factory paint, according to Canawrap. Beyond that window, adhesive chemistry changes; the bond strengthens and becomes increasingly difficult to break without pulling clear coat or paint along with the film. Fleet managers who delay removal past the manufacturer’s recommended lifespan face significantly higher risks of surface damage, residue buildup, and costly paint correction. Scheduling wrap replacement within the 3 to 5 year range is the most reliable way to protect the underlying finish.
Can Low-Quality Vinyl Film Cause Paint Peeling?
Yes, low-quality vinyl film can cause paint peeling because budget materials use aggressive, non-repositionable adhesives that bond too tightly to automotive surfaces. According to TG Wraps, one of the most expensive wrap mistakes is cutting corners with cheap materials, as low-grade vinyl is prone to premature fading, peeling, and cracking. These films also lack proper air-release channels, trapping moisture beneath the surface and accelerating adhesive degradation. When removal time arrives, the compromised adhesive fractures unevenly, pulling paint and clear coat with it. Premium cast vinyl films from manufacturers like 3M or Avery Dennison use pressure-sensitive adhesives engineered for clean release, making the upfront investment far more cost-effective than repainting damaged panels.
Does Sun-Baked or Oxidized Wrap Bond Differently to Paint?
Yes, sun-baked or oxidized wrap bonds differently to paint. Prolonged UV exposure hardens vinyl adhesive, creating an over-bonded layer that resists clean separation from the clear coat. According to 3M’s Commercial Branding and Transportation Division, highly oxidized painted substrates, such as those with chalked paint, actually exhibit poor adhesion, which may allow graphics to be removed more easily than from slightly oxidized surfaces that promote higher adhesion. This creates a counterintuitive situation: moderately weathered paint holds wraps more aggressively than heavily degraded surfaces. Fleet vehicles parked outdoors in sun-intensive climates are especially vulnerable to this mid-range oxidation problem, where the adhesive and paint surface fuse into a bond that standard heat application struggles to break cleanly.
Can Existing Paint Defects Worsen During Wrap Removal?
Yes, existing paint defects can worsen during wrap removal. Chips, scratches, thin spots, and areas with poor clear coat adhesion become failure points where the vinyl’s adhesive grip exceeds the paint’s bond to the substrate. According to 3M, graphics applied to freshly painted substrates before the paint has sufficiently cured are difficult to remove and are likely to cause damage to the underlying substrate. The same principle applies to aftermarket repaints and touch-up areas that lack proper curing or adhesion quality. Pre-removal inspection is essential for identifying vulnerable zones so technicians can apply extra heat and use slower pull angles in those areas.
Understanding why wraps damage paint makes it easier to choose the right vinyl film type for clean, predictable removal.
How Does the Type of Vinyl Film Affect the Removal Process?
The type of vinyl film directly determines how easily a fleet wrap peels away and how much adhesive residue remains. Calendered vinyl and cast vinyl require different removal techniques due to their distinct manufacturing properties.
How Do You Remove Calendered Vinyl From Fleet Vehicles?
You remove calendered vinyl from fleet vehicles by applying more heat and working in smaller sections to compensate for the film’s rigidity. Calendered vinyl is manufactured by pressing PVC through rollers, which creates a thicker, less conformable material that tends to shrink and become brittle over time. This brittleness means the film often fractures into small pieces rather than peeling in clean sheets.
According to 3M’s removal instruction bulletin, cutting graphics into 12-inch to 15-inch wide strips significantly simplifies the removal process regardless of method. With calendered film, this strip technique is essential because pulling large sections typically causes tearing. Slower, more patient heat application at consistent temperatures helps soften the stiffer adhesive layer enough for controlled removal. Expect more residual adhesive cleanup compared to cast vinyl, as calendered films generally leave heavier glue deposits on the clear coat.
How Do You Remove Cast Vinyl From Fleet Vehicles?
You remove cast vinyl from fleet vehicles by heating the film to the recommended temperature range and pulling at a low, steady angle. Cast vinyl is manufactured by pouring liquid PVC into a thin sheet, producing a thinner, more conformable film with less memory. This means cast vinyl resists shrinking over time and typically maintains its flexibility throughout its lifespan.
Because cast film stays pliable, it usually peels away in larger, continuous sections with less tearing. Pulling the vinyl back at a 15 to 30 degree angle, as recommended by Hoosier Decal, puts tension on the adhesive bond rather than the clear coat, which helps prevent paint damage. Cast vinyl also tends to leave less adhesive residue behind, reducing post-removal cleanup time. For fleet managers planning wrap replacement cycles, cast vinyl’s cleaner removal process often justifies its higher upfront material cost.
With film type accounted for, post-removal paint care ensures the finish stays protected.
What Post-Removal Steps Protect the Vehicle’s Paint Finish?
Post-removal steps that protect the vehicle’s paint finish include polishing or compounding to correct surface imperfections and reapplying a protective layer such as wax or ceramic coating. These steps restore gloss and shield exposed paint from environmental damage.
Should You Polish or Compound the Paint After Wrap Removal?
You should polish or compound the paint after wrap removal if the surface shows swirl marks, light scratches, or dullness. Adhesive removal and the peeling process can leave behind minor surface imperfections that diminish the clear coat’s appearance.
According to XPEL, stage 2 paint correction is recommended for vehicles with visible swirl marks and light scratch marks, using a more abrasive polishing compound followed by a finishing polish to refine the paint. For fleet vehicles that only show mild haziness, a single-stage polish with a dual-action polisher is typically sufficient. Panels that were covered by the wrap often appear noticeably different from exposed areas due to uneven UV weathering, so polishing the entire vehicle creates a uniform finish. Skipping this step on fleet vehicles is one of the most common oversights; even paint that looks fine under garage lighting can reveal imperfections in direct sunlight.
Do You Need to Reapply Wax or Ceramic Coating Afterward?
Yes, you need to reapply wax or ceramic coating afterward because the original protective layer is removed along with the wrap and adhesive during the stripping process. Bare clear coat is vulnerable to UV damage, road contaminants, and oxidation without a sealant barrier.
According to Chemical Guys, before applying a ceramic coating after wrap removal, a wax-free, gloss-free soap like Clean Slate Wax Stripping Wash should be used to ensure a completely clean surface. Ceramic coatings provide longer-lasting protection than traditional carnauba wax, often lasting two to five years versus a few months. For fleet operators managing dozens of vehicles, ceramic coating reduces the frequency of reapplication and lowers long-term maintenance costs. Whichever sealant you choose, applying it promptly after polishing prevents contaminants from bonding to the freshly corrected surface.
Knowing how to restore paint after removal is valuable, but recognizing when to call in professionals can save both time and costly mistakes.
When Should You Hire a Professional for Fleet Wrap Removal?
You should hire a professional for fleet wrap removal when the vinyl has exceeded its intended lifespan, when the underlying paint has known defects, or when warranty protection is a priority. The following situations call for expert handling.
- The wrap has been on longer than 4 to 5 years. Aged vinyl bonds more aggressively to clear coat, and removing it without professional-grade heat control and technique risks pulling paint. According to TG Wraps, professional removal services use the right heat, pressure, and tools to safely lift materials without leaving adhesive residue behind, which is a common failure in DIY attempts.
- The vehicle has freshly painted or repainted panels. Uncured or aftermarket paint reacts differently to adhesive tension, making damage far more likely without controlled removal conditions.
- Multiple vehicles need consistent results. Fleet-scale removal demands repeatable processes across dozens of vehicles. Inconsistent technique across a fleet creates uneven paint conditions that complicate rebranding.
- Wrap warranty coverage matters. Some wrap warranties may be voided if the removal process causes vehicle damage, so certified removal preserves that protection.
- The vinyl uses UV-cured inks or calendered film. These materials tear more easily and pull off in small pieces, requiring patience and specialized skill to avoid clear coat stress.
For most fleet managers, the cost of professional removal is minor compared to a single repaint. Whenever paint integrity or brand consistency is at stake, certified technicians offer the safest return on investment. Understanding the right time to call a professional helps prevent the costly mistakes covered next.
What Common Mistakes Should You Avoid During Wrap Removal?
The common mistakes you should avoid during wrap removal include overheating vinyl, pulling at the wrong angle, using harsh chemicals, and attempting large-section removal without cutting strips first.
- Overheating or underheating the vinyl. Holding the heat gun too close or too long scorches the film and softens the clear coat underneath. Conversely, working below 64.4°F causes vinyl to become brittle and fragment into small pieces, according to 3M’s removal guidelines. Keep the nozzle 5 to 7 inches from the surface at roughly 45 degrees.
- Pulling at 90 degrees. This common DIY error transfers tension directly to the clear coat instead of the adhesive bond. Vinyl should be pulled back at a 15 to 30 degree angle to prevent paint lifting.
- Skipping the strip-cutting step. Trying to peel an entire panel in one piece leads to tearing and excessive adhesive residue. Cutting graphics into 12 to 15 inch wide strips simplifies removal regardless of the method used.
- Using abrasive tools or harsh solvents on the paint. Razor blades, aggressive scrapers, and high-pH chemicals damage clear coat and void manufacturer warranties. Citrus-based adhesive removers and microfiber towels are the safer choice.
- Leaving wraps installed beyond their intended lifespan. Low-grade vinyl is especially prone to premature fading, peeling, and cracking, which makes eventual removal far more difficult and expensive. Most of these errors stem from impatience or lack of proper tools. Professional removal services apply the right combination of heat, pressure, and technique to lift materials cleanly, which is where DIY attempts most often fail.
Understanding these pitfalls sets the stage for choosing professional expertise over trial and error.
How Does Professional Large Format Graphics Expertise Improve Fleet Wrap Removal?
Professional large format graphics expertise improves fleet wrap removal by combining certified technicians, manufacturer-approved methods, and precision tools to protect paint throughout the process. The following sections cover Craftsmen Industries’ specific capabilities and the essential takeaways for damage-free fleet wrap removal.
Can Craftsmen Industries Handle Fleet Wrap Installation and Removal?
Yes, Craftsmen Industries can handle fleet wrap installation and removal. Craftsmen Industries is a 3M Preferred Graphics Installer and PDAA-certified provider, specializing in seamless removal and damage-free replacement of fleet graphics. The installation and removal team utilizes PDAA and UASG certified specialists who follow manufacturer-specified heat ranges, pulling angles, and adhesive removal protocols for every vehicle in a fleet.
This level of certification matters because improper removal is one of the most common causes of clearcoat damage, adhesive ghosting, and warranty disputes. For fleet managers overseeing dozens or hundreds of branded vehicles, working with a certified provider eliminates the variability and risk that come with inexperienced crews.
What Are the Key Takeaways About Safely Removing Fleet Wraps Without Damaging Paint?
The key takeaways about safely removing fleet wraps without damaging paint center on controlled heat, proper technique, and thorough post-removal care. According to 3M’s removal instruction bulletin, industrial heat guns should uniformly heat graphics to 160°F to 200°F while maintaining ambient temperatures above 64.4°F to prevent brittle fracturing.
Critical practices include:
- Pull vinyl at a 15 to 30 degree angle to stress the adhesive bond rather than the clearcoat.
- Cut graphics into 12 to 15 inch strips to simplify removal and reduce tearing.
- Use citrus-based adhesive removers and microfiber towels to clean residue without scratching the finish.
- Remove wraps within the vinyl’s intended lifespan of 3 to 7 years to minimize paint damage risk.
- Avoid applying wraps to uncured paint, as premature application makes future removal destructive.
For fleet operations where vehicle appearance directly represents brand value, treating wrap removal as a skilled trade rather than a simple peel-and-pull task is the single most cost-effective way to protect your investment.
Filter Posts by Tag
related posts
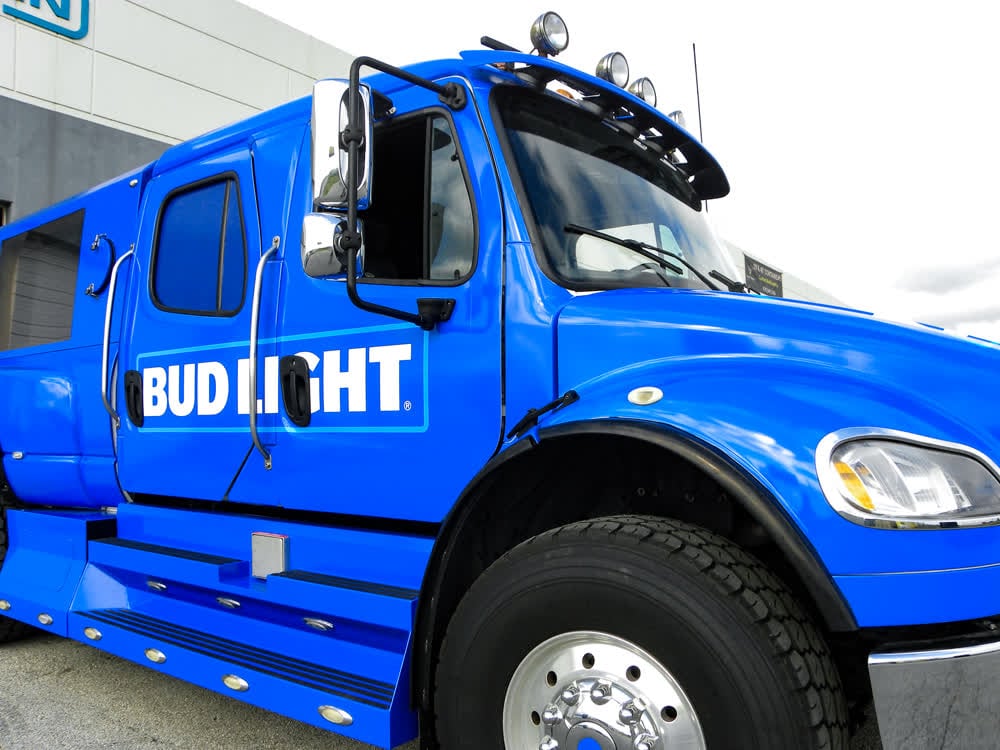
Why do so many companies invest in fleet graphics? Read on why Custom vinyl graphics can unify your vehicles and increase business levels.
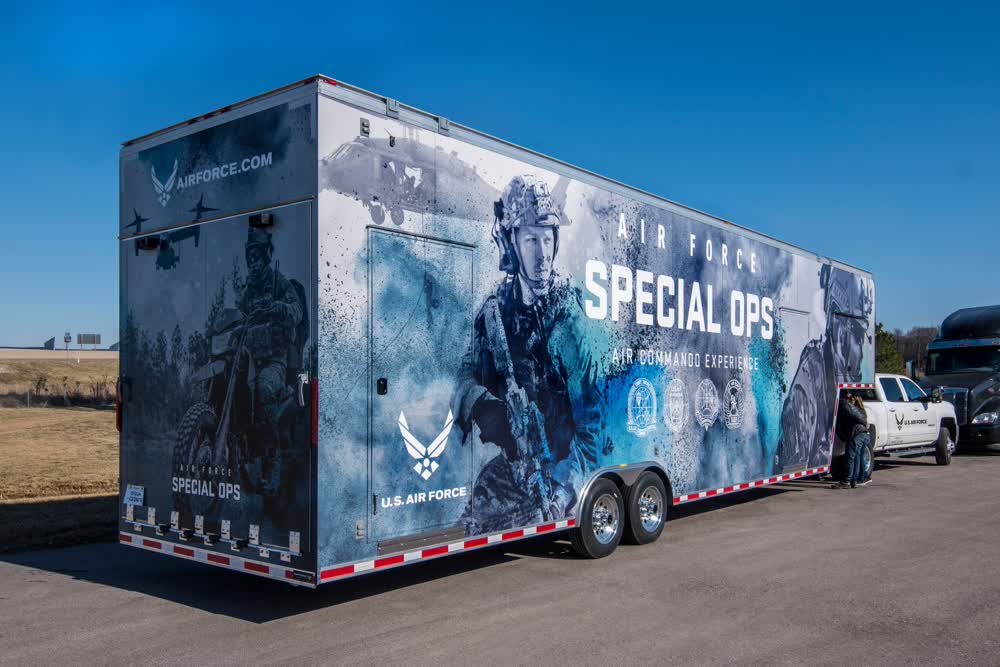
Learn how to clean, protect, and repair fleet graphics to extend their lifespan, cut replacement costs, and keep your vehicles looking professional.
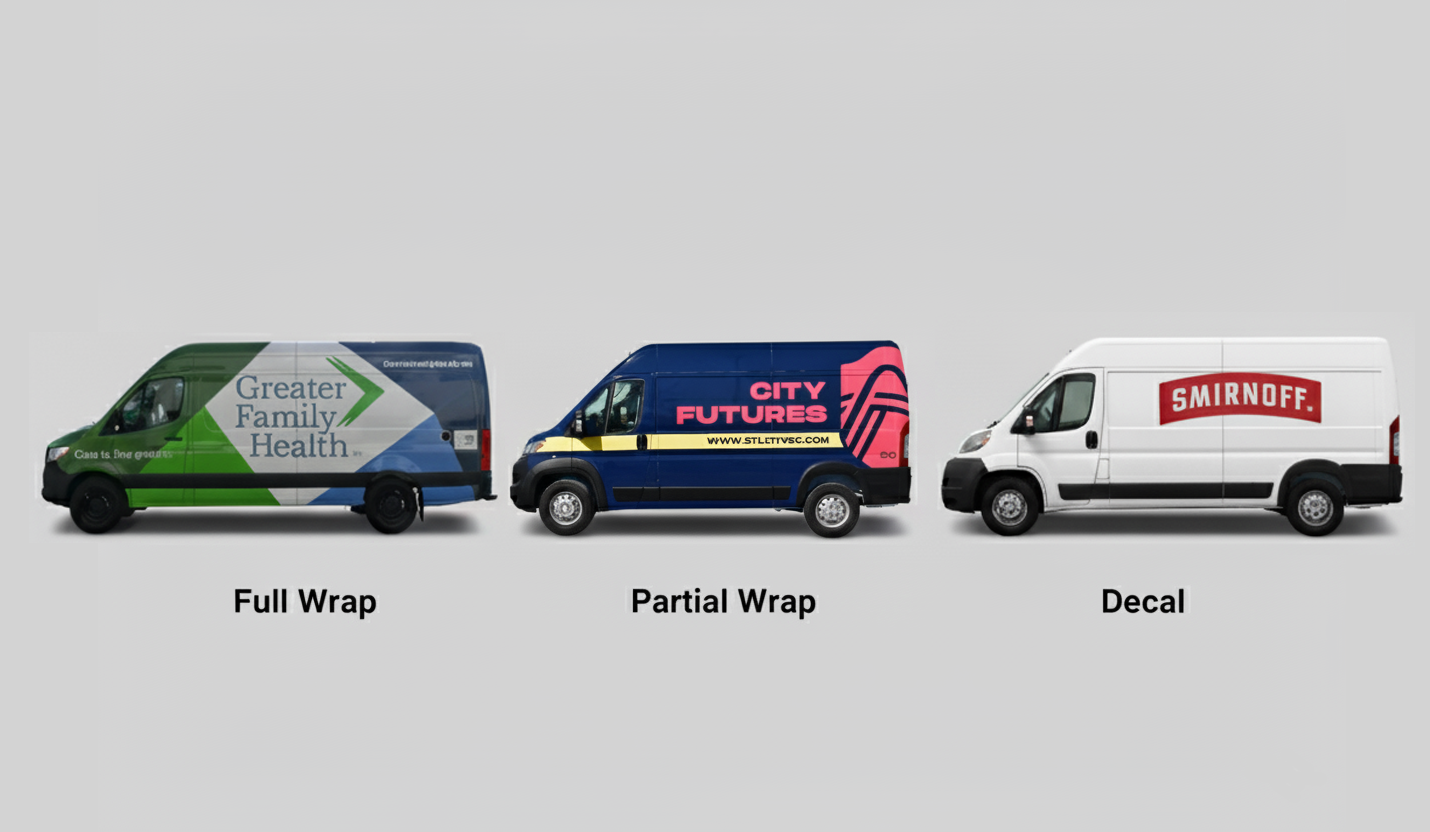
Learn the key cost factors in fleet graphics, from design and materials to vehicle size, and discover why wraps offer lasting ROI for your business.
